Naxxramas Runbook
Quick-reference encounter strategies for raid leaders
Trash Before Patchwerktrash▾
Mob Types
Bile Retcher260kAbomination — Bile Vomit frontal cone (Nature damage), Plague disease DoT
Sludge Belcher195kAbomination — Acid Breath frontal cone, spawns a Bile Slime on death
Living Slime55kOoze — extreme melee damage, cannot be tanked, must be kited and killed at range
Living Slimes deal massive melee damage and cannot be tanked — they must be kited at range and killed by ranged DPS only
Patchwerk Room Trashtrash▾
Mob Types
Surgical Assistant85kHumanoid — Mind Flay channel (Shadow damage plus movement slow)
Embalming Slime50kOoze — Embalming Cloud (area-of-effect Nature damage)
Mad Scientist80kDrops a totem that buffs nearby mobs — destroy the totem immediately
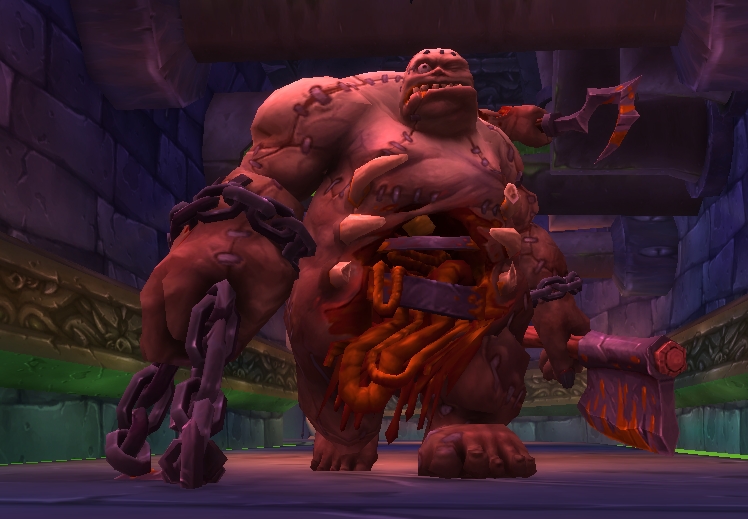 Patchwerkboss▾
HP: 3,997,200
Boss Abilities
Hateful Strike22,100-29,900 physical damage (before armor mitigation) every ~1.2 seconds. Targets the highest-HP player among the 2nd, 3rd, and 4th highest threat targets in melee range. This is why 4 tanks are required.
Berserk (7 minutes)Hard enrage at 7 minutes. Damage increases by approximately 500% and Hateful Strike hits over 100,000. The raid wipes. This is a strict DPS check requiring ~9,500 total raid DPS.
Enrage (5% HP)At 5% health, Patchwerk Enrages — significantly increased damage output. Healers must switch to maximum rank heals. Warrior tanks should have Shield Wall ready.
Positioning & Kiting
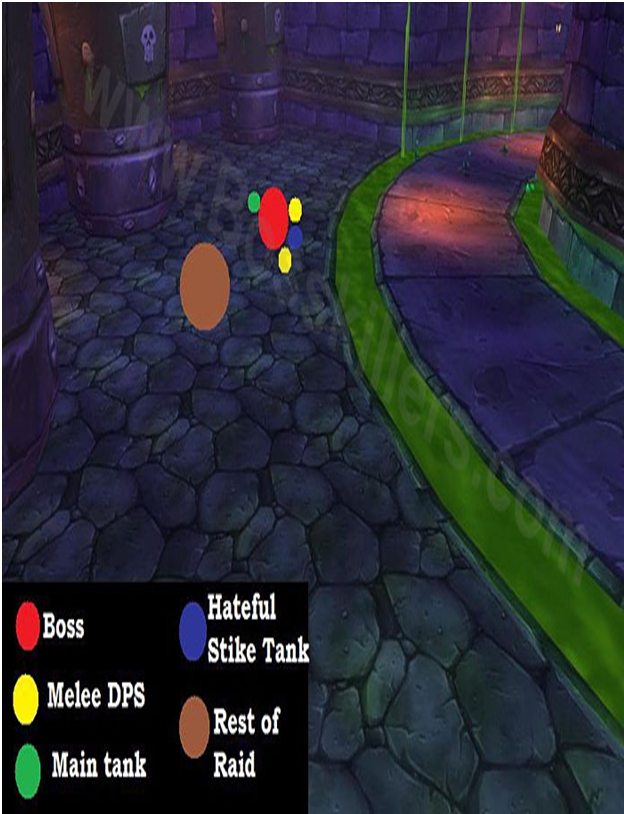
Click image to view full size
The main tank stands directly in front of Patchwerk. The three Hateful Strike off-tanks stand in melee range behind or beside the main tank — all four tanks must be within melee range at all times. Healers stand at maximum range behind the tanks, split into two groups: one group focused on the main tank and one group focused on Hateful Strike targets. Melee damage dealers stand behind Patchwerk. The entire raid stays away from the slime river at the edge of the room.
×
Trash to Grobbulustrash▾
Mob Types
Stitched Spewer~200kUppercut launches the tank into the air and wipes their threat — off-tank must taunt immediately. Also deals AoE poison damage around itself.
Living Poison~10kExtremely slow-moving slime blobs on the platform floor. Contact is near-instant death. Do NOT walk into them — they are easy to avoid if you watch the ground.
Stitched Spewers uppercut the tank, launching them into the air and WIPING THREAT. The off-tank must immediately pick up the mob. Living Poisons on the floor are instant death — do not walk into them.
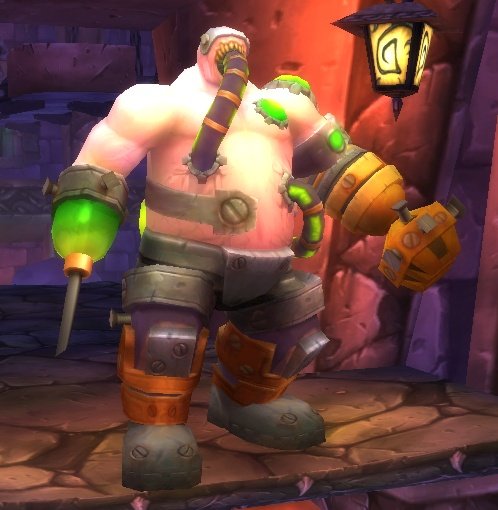 Grobbulusboss▾
HP: 2,165,150
Boss Abilities
Slime SprayFrontal cone — 3,600-4,800 Nature damage. Any player hit spawns a Fallout Slime at their location. Only hits players in front of Grobbulus.
Poison CloudGrobbulus periodically drops a Poison Cloud at his current location. Persists for a long time and deals high Nature damage to anyone standing in it. Forces the tank to keep the boss moving around the room.
Mutating InjectionDisease debuff on a random player. After 10 seconds, it detonates — dealing ~4,500 physical damage in an area around the player and dropping a Poison Cloud at that location. Must be dispelled at the designated wall spot.
Fallout SlimeSmall ooze spawned from players hit by Slime Spray. Pulses 300 Nature damage every 2 seconds to all players within 10 yards. The off-tank must pick these up immediately.
Enrage (12 minutes)Hard enrage at 12 minutes. Damage increases dramatically. Typically not reached if the raid handles Poison Cloud placement correctly and maintains steady DPS.
Positioning & Kiting
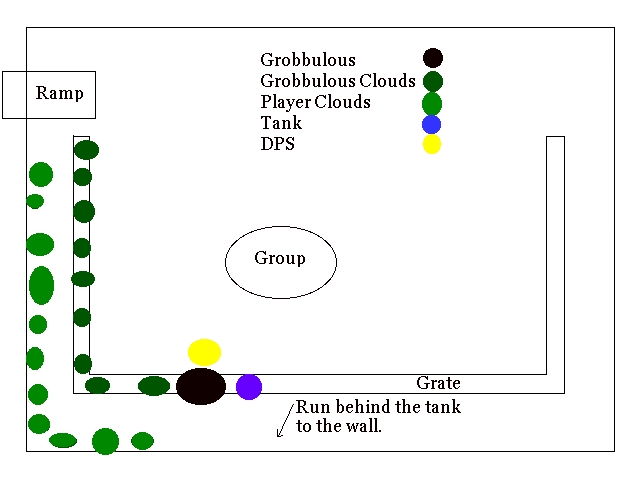
Click image to view full size
The main tank kites Grobbulus in a large circle around the perimeter of the room. Grobbulus periodically drops Poison Clouds on the ground that persist and deal heavy Nature damage — the kiting path must avoid doubling back through existing clouds. Melee damage dealers follow behind Grobbulus (staying out of his frontal Slime Spray cone). Players targeted by Mutating Injection run to the inside of the room (away from the kite path along the walls) to be dispelled, so their Poison Cloud drops in the center where the raid is not moving through.
×
The Slime Pipe to Gluthtrash▾
There is NO trash between Grobbulus and Gluth. The pipe deals constant Nature damage — use a Greater Nature Protection Potion before entering. Do NOT heal or precast in the pipe or you will pull aggro from Gluth's room before the tank lands.
 Gluthboss▾
HP: 1,665,500
Zombie Chow spawns approximately every 10 seconds from the grates at the back of the room. Must be kited by mages — if Gluth eats a zombie, he heals for 5% of his maximum health.
Boss Abilities
Mortal WoundStacking debuff on the tank — each stack reduces healing received by 10%. Stacks indefinitely. Eventually makes the main tank unhealable and forces a tank swap.
DecimateEvery ~105 seconds, reduces ALL players and ALL Zombie Chow to 5% of their maximum health. After Decimate, zombies are low health and must be AoE'd down immediately before Gluth can eat them.
FrenzyApproximately every 10 seconds, Gluth Frenzies — increased attack speed. Must be immediately removed with Tranquilizing Shot (a hunter ability that removes enrage effects).
Terrifying RoarArea-of-effect Fear within 20 yards, approximately every 20 seconds. The main tank must be protected from this fear at all times using Fear Ward or Tremor Totem.
Devour ZombieIf a Zombie Chow reaches Gluth, he eats it and heals for 5% of his maximum health (~83,000 HP per zombie). Multiple zombies reaching Gluth will undo all raid DPS progress.
Zombie Chow
Infected WoundZombie Chow melee attacks apply Infected Wound — increases physical damage taken by 100 for 1 minute. Stacks. This is why kiters must avoid being hit by the zombies.
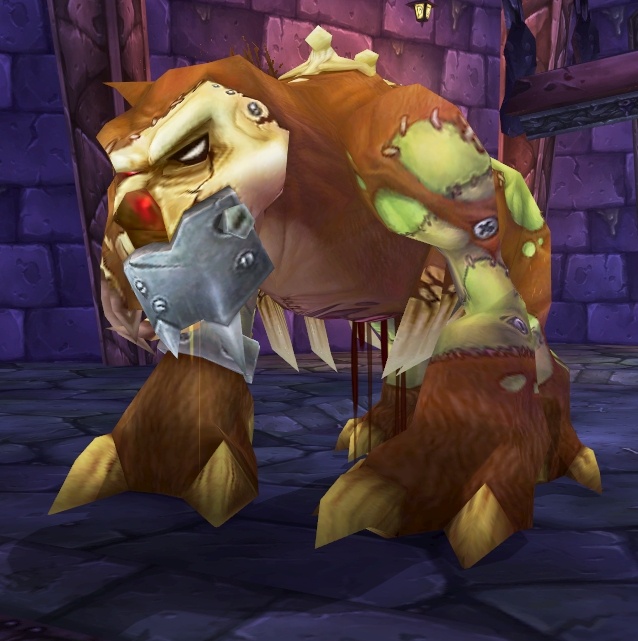
 Thaddiusboss▾
HP: 6,662,000
Phase 1: Stalagg (495,236 HP) on the right platform and Feugen (490,291 HP) on the left platform. Both must die within 5 seconds of each other or the dead one resurrects at full health.
Boss Abilities
Polarity ShiftEvery 30 seconds, assigns every player either Positive Charge or Negative Charge. Players with the same charge near each other gain +10% damage per nearby ally. Players near someone with the OPPOSITE charge deal 2,000 Nature damage to them every 5 seconds — this will wipe the raid.
Chain LightningHits a player for ~2,000 Nature damage, then chains to up to 15 nearby players with increasing damage per jump. Cast every 5-10 seconds.
Ball Lightning7,000-9,000 Nature damage. Used if nobody is in melee range. The tank must stay in melee at all times to prevent this.
Berserk (5 minutes)Hard enrage at 5 minutes. Movement speed increases by 150%, physical damage increases by 500%. The raid wipes.
Stalagg & Feugen Abilities (Phase 1)
Power Surge (Stalagg)Stalagg gains +200% attack speed for 10 seconds. Tanks must use defensive cooldowns during Power Surge or they will be killed by the rapid melee attacks.
Static Field (Feugen)Burns 500 mana from all enemies within 30 yards every 6 seconds and deals Shadow damage equal to the mana burned. Casters must stand at maximum range to avoid this.
Magnetic PullPeriodically swaps the highest-threat players between the two platforms. Tanks on each side must immediately pick up the add when the other tank is pulled away.
Positioning & Kiting
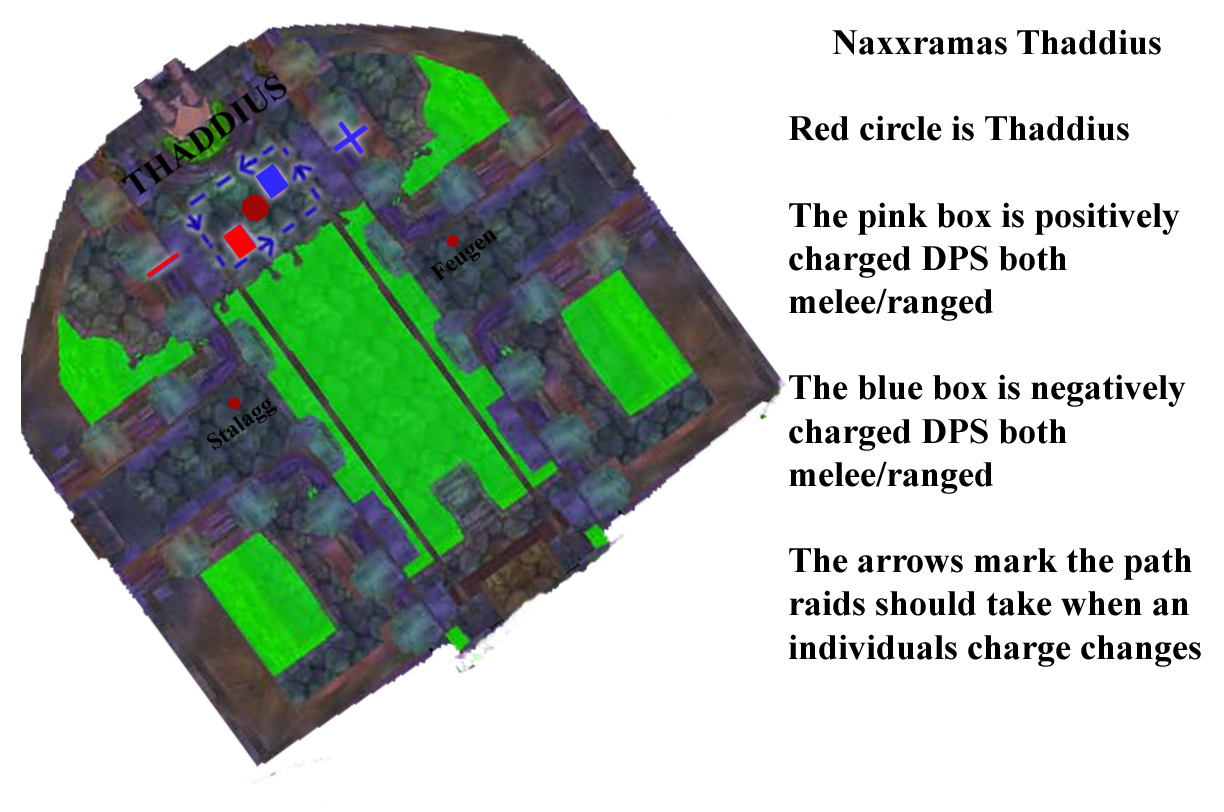
Click image to view full size
Phase 1: The raid splits into two groups on elevated platforms. The melee group goes to the right platform to fight Stalagg, and the caster group goes to the left platform to fight Feugen. Two tanks are assigned to each platform. Casters on Feugen's platform stand at maximum range to avoid his Static Field mana drain. Phase 2: After both adds die within 5 seconds of each other, the entire raid jumps down onto Thaddius's platform below. Players with a positive Polarity Shift charge move to one side (typically the left), and players with a negative charge move to the other side (typically the right). Mixing charges causes a chain lightning explosion that damages the entire raid.
×