Molten Core Runbook
Quick-reference encounter strategies for raid leaders — Turtle WoW 1.18.0
Entrance Trashtrash▾
Mob Types
Molten Giant170kStomp (AoE knockback + stun), Knock Away (reduces tank threat). Face away from the raid.
Molten Destroyer170kKnockback, Trample AoE. Similar to Molten Giant. Face away from the raid.
Firelord115kRanged fire spells, summons Lava Spawns on death. Kill spawns immediately or they multiply.
Lava Surger98kCharges random players from extreme range. Always kill Surgers first before pulling anything else.
Lava Annihilator195kLarge fire elemental — frontal cleave and fire AoE. Tank away from the raid.
Lava Surgers charge random players from across the cavern — always clear them first before pulling any nearby pack
1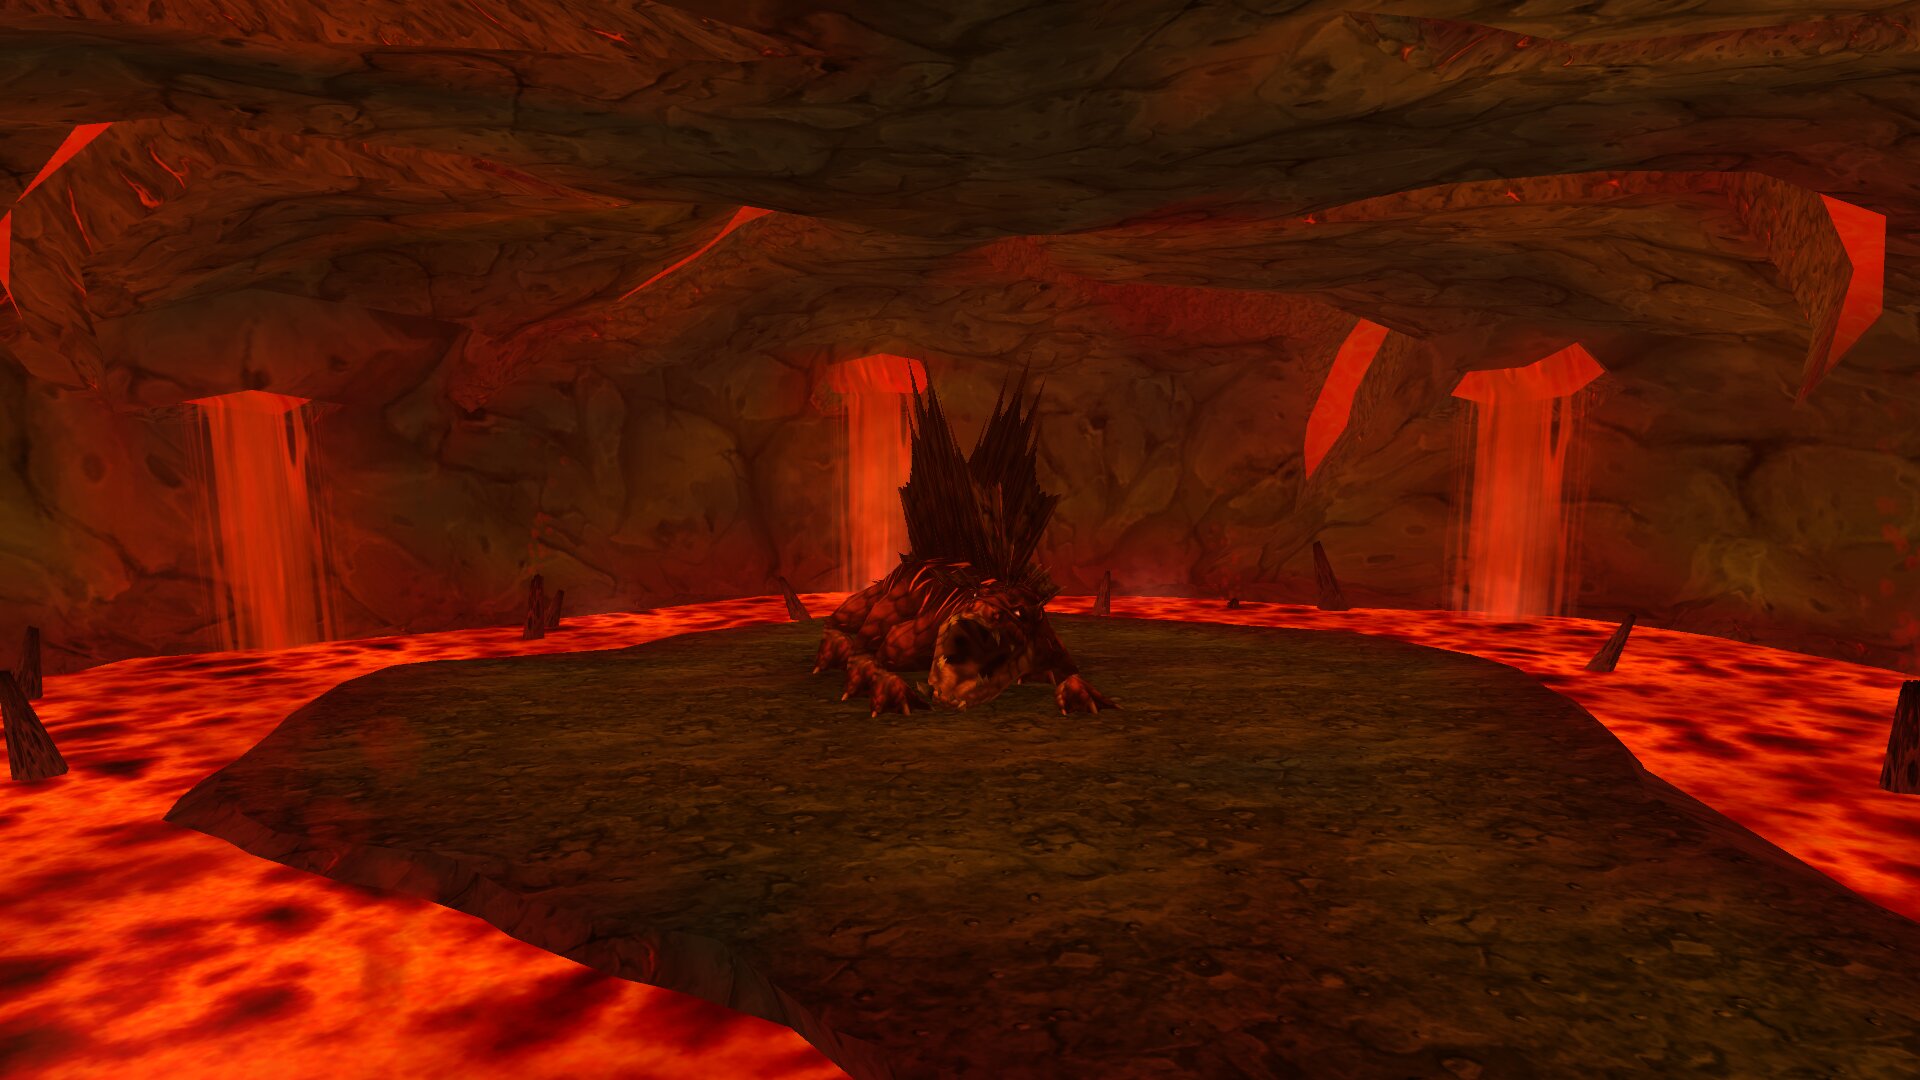 Incindisboss▾
HP: Unknown
Located in Incindis' Lair — the hatching grounds of the incendosaurs. First boss upon entering MC.
Turtle WoW custom boss (Patch 1.18.0). Replaced Gehennas in the tier loot table. Detailed mechanics are not fully documented — adapt from your guild's experience.
Boss Abilities
Tier Gear DropsDrops all tier gear previously dropped by Gehennas.
Trash to Garrtrash▾
Mob Types
Firesworn25kSmall fire elementals — EXPLODE on death dealing ~4,000 fire damage in an AoE. Kill them spread apart.
Lava Surger98kCharges random players. Clear before pulling Garr's area.
2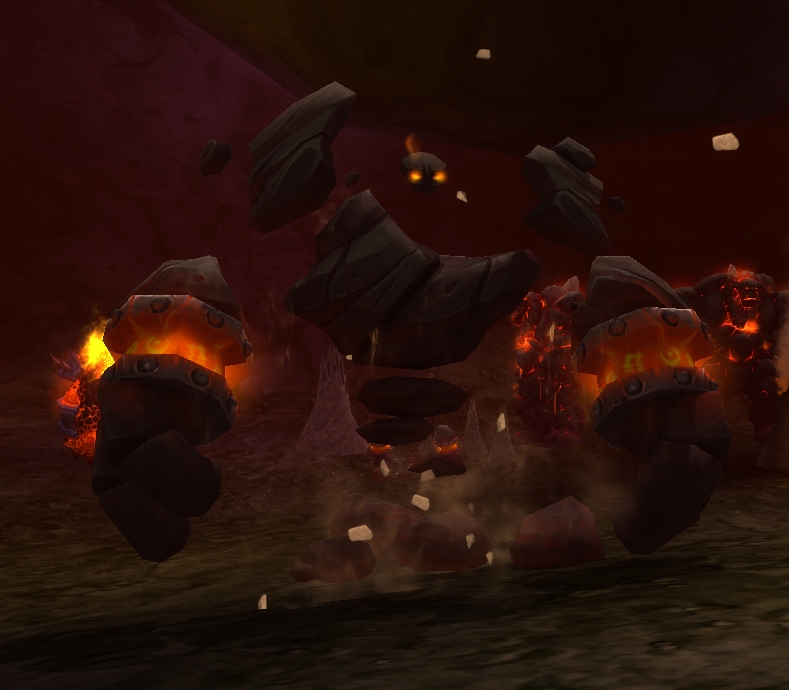 Garrboss▾
HP: Unknown
Starts with 8 Firesworn adds (fire elementals). Firesworn explode on death dealing ~4,000 AoE fire damage. Garr's health was reduced 15% in post-launch hotfix.
Boss Abilities
Antimagic PulseDispels all beneficial magical buffs from all players in the raid. Also applies a spell school lockout. Recast your buffs after each pulse.
Magma ShacklesReduces movement speed of nearby players by 60%. Makes repositioning difficult during add management.
Damage Reduction (Turtle WoW rework)Post-1.18.0 Garr has a new damage reduction mechanic. Initial pull damage was reduced compared to launch, but the fight is still strategically demanding due to add management.
Firesworn Abilities
ImmolateFire damage DoT applied via melee. Stacks if tanking multiple Firesworn.
Eruption (on death)When a Firesworn dies, it explodes dealing ~4,000 fire damage to all players within melee range. Separate them before killing and spread melee out.
Separation AnxietyFiresworn gain a damage buff if they are too far from Garr. Off-tanks should keep them at moderate distance, not across the room.
Trash to Baron Geddontrash▾
Mob Types
Lava Annihilator195kLarge fire elemental — frontal cleave and AoE fire damage
Firelord115kRanged caster, spawns Lava Spawns on death
3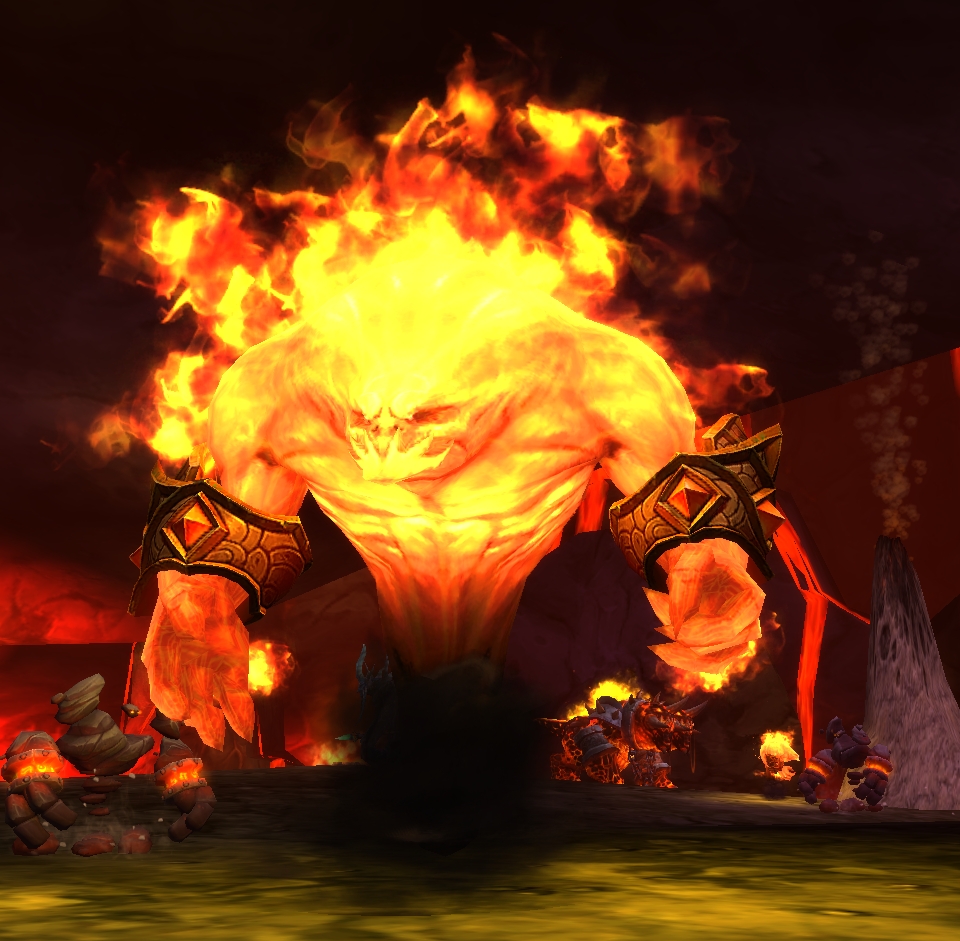 Baron Geddonboss▾
HP: Unknown
No permanent adds. Baron Geddon's health was reduced 20% in post-launch hotfix. Reworked in 1.18.0 with SoD-style fire patch mechanics.
Boss Abilities
InfernoPulsing AoE fire damage centered on Baron Geddon for 8 seconds, dealing ~3,000 fire damage every 2 seconds to all players within melee range. Melee must run out immediately when this starts.
Ignite ManaBurns 400 mana per second from all players within 30 yards for 5 seconds. Also deals fire damage equal to the mana burned. Mana users will lose ~2,000 mana per cast.
Living BombTurns a random player into a Living Bomb for 8 seconds. When the timer expires, the player explodes dealing ~3,200 fire damage to all players within 20 yards AND launching them into the air. The bombed player must run away from the raid immediately.
Fire Patches (Turtle WoW rework)Post-1.18.0 Baron Geddon drops persistent fire patches on the ground (Season of Discovery-style mechanic). The raid must avoid standing in these while managing the other mechanics.
Trash to Shazzrahtrash▾
4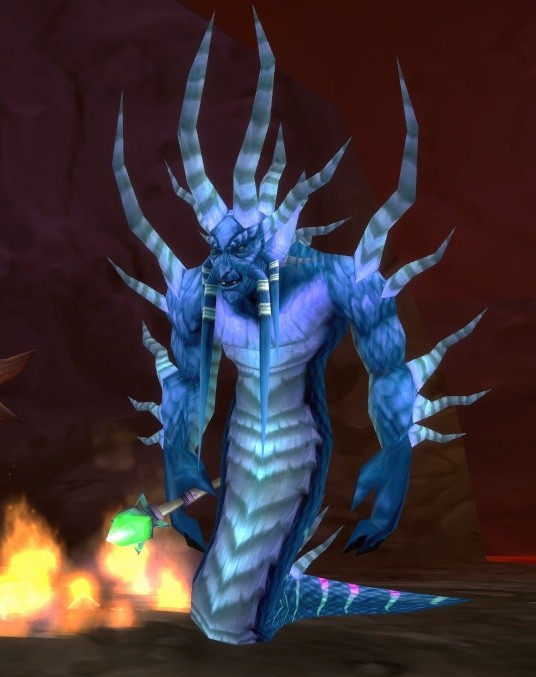 Shazzrahboss▾
HP: Unknown
No adds. Shazzrah's health was reduced 20% in post-launch hotfix.
Boss Abilities
Arcane ExplosionAoE arcane damage to all players within melee range. Cast frequently. Deals significant damage to melee.
Shazzrah's CurseIncreases magic damage taken by 100% for 5 minutes. Applied to all players in range. Must be decursed immediately or the next Arcane Explosion will deal double damage.
CounterspellInterrupts a caster and locks out that spell school. Disruptive to healers casting on the tank.
Gate of Shazzrah (Blink)Shazzrah teleports to a random location in the room and resets his threat table. The tank must immediately re-engage and rebuild threat after every blink.
Deaden MagicSelf-buff that reduces magic damage taken by 50%. Must be dispelled (Purge, Dispel Magic) immediately or the fight takes much longer.
Trash to Sulfuron Harbingertrash▾
Mob Types
Flameguard85kFire shield — deals fire damage to attackers in melee range
Firewalker68kFire Blossom AoE, ranged fire damage
5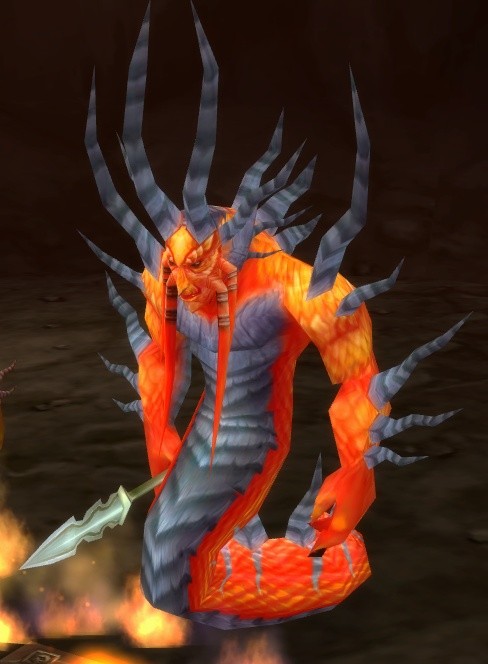 Sulfuron Harbingerboss▾
HP: Unknown
Starts with 4 Flamewaker Priest adds that heal Sulfuron and each other. Kill the priests first or the boss never dies. Health reduced 20% in post-launch hotfix.
Boss Abilities
Demoralizing ShoutReduces melee attack power for all nearby players. Rebuff after each application.
InspireBuffs himself and all nearby allies — increases physical damage and attack speed. Can be dispelled.
Flame SpearRanged fire attack on a random player. Moderate fire damage.
Flamewaker Priest Abilities
HealHeals Sulfuron and other Priests for a significant amount. Must be interrupted consistently or the fight becomes impossible.
Shadow Word: PainShadow DoT applied to random players. Can be dispelled.
ImmolateFire damage DoT on random players.
Dark MendingLarge heal — the most important cast to interrupt. Assign dedicated interrupters to each Priest.
Trash to Golemaggtrash▾
Mob Types
Lava Annihilator195kLarge fire elemental — frontal cleave, fire AoE
Core Hound67kTwo-headed dogs — come in packs. ALL dogs in a pack must die within 10 seconds or they resurrect at full HP
Core Hound packs must all die within ~10 seconds of each other or they resurrect at full health. Coordinate DPS to kill them together.
6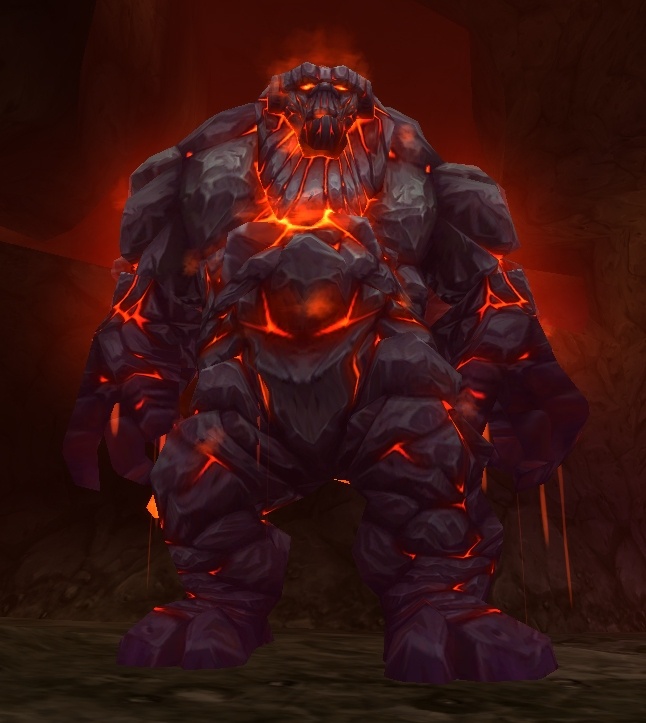 Golemagg the Incineratorboss▾
HP: Unknown
Starts with 2 Core Rager dog adds. Core Ragers have a fixate mechanic in the Turtle WoW rework requiring multiple tanks. Golemagg's health was reduced 25% in post-launch hotfix (the largest reduction of any MC boss).
Boss Abilities
Magma SplashStacking fire damage DoT and armor reduction debuff applied to the main tank. Stacks increasingly reduce armor, making the tank take more and more physical damage over time.
PyroblastRanged fire damage on a random player. Moderate damage, healers need to spot-heal the target.
Earthquake (below 10% HP)At 10% HP, Golemagg starts casting Earthquake — AoE damage and stun to the entire raid. Push through this phase quickly.
Attract Rager (below 10% HP)At 10% HP, Golemagg casts Attract Rager on the entire raid, adding threat on all players to the Core Ragers except for the warriors tanking them. Core Ragers will run loose and attack random players if not controlled.
Core Rager Abilities (Turtle WoW Rework)
Golemagg's TrustIf Core Ragers are close to Golemagg, they gain +500 physical damage and +50% attack speed. Keep them at moderate distance from the boss.
MangleReduces movement speed by 50% and deals 300 physical damage every 2 seconds. Applied to the player tanking the Core Rager.
Fixate (Turtle WoW rework)Core Ragers fixate on random players periodically. Multiple tanks are needed to pick them up when fixate targets switch. This is the mechanic that requires ~4-6 tanks total for this encounter.
7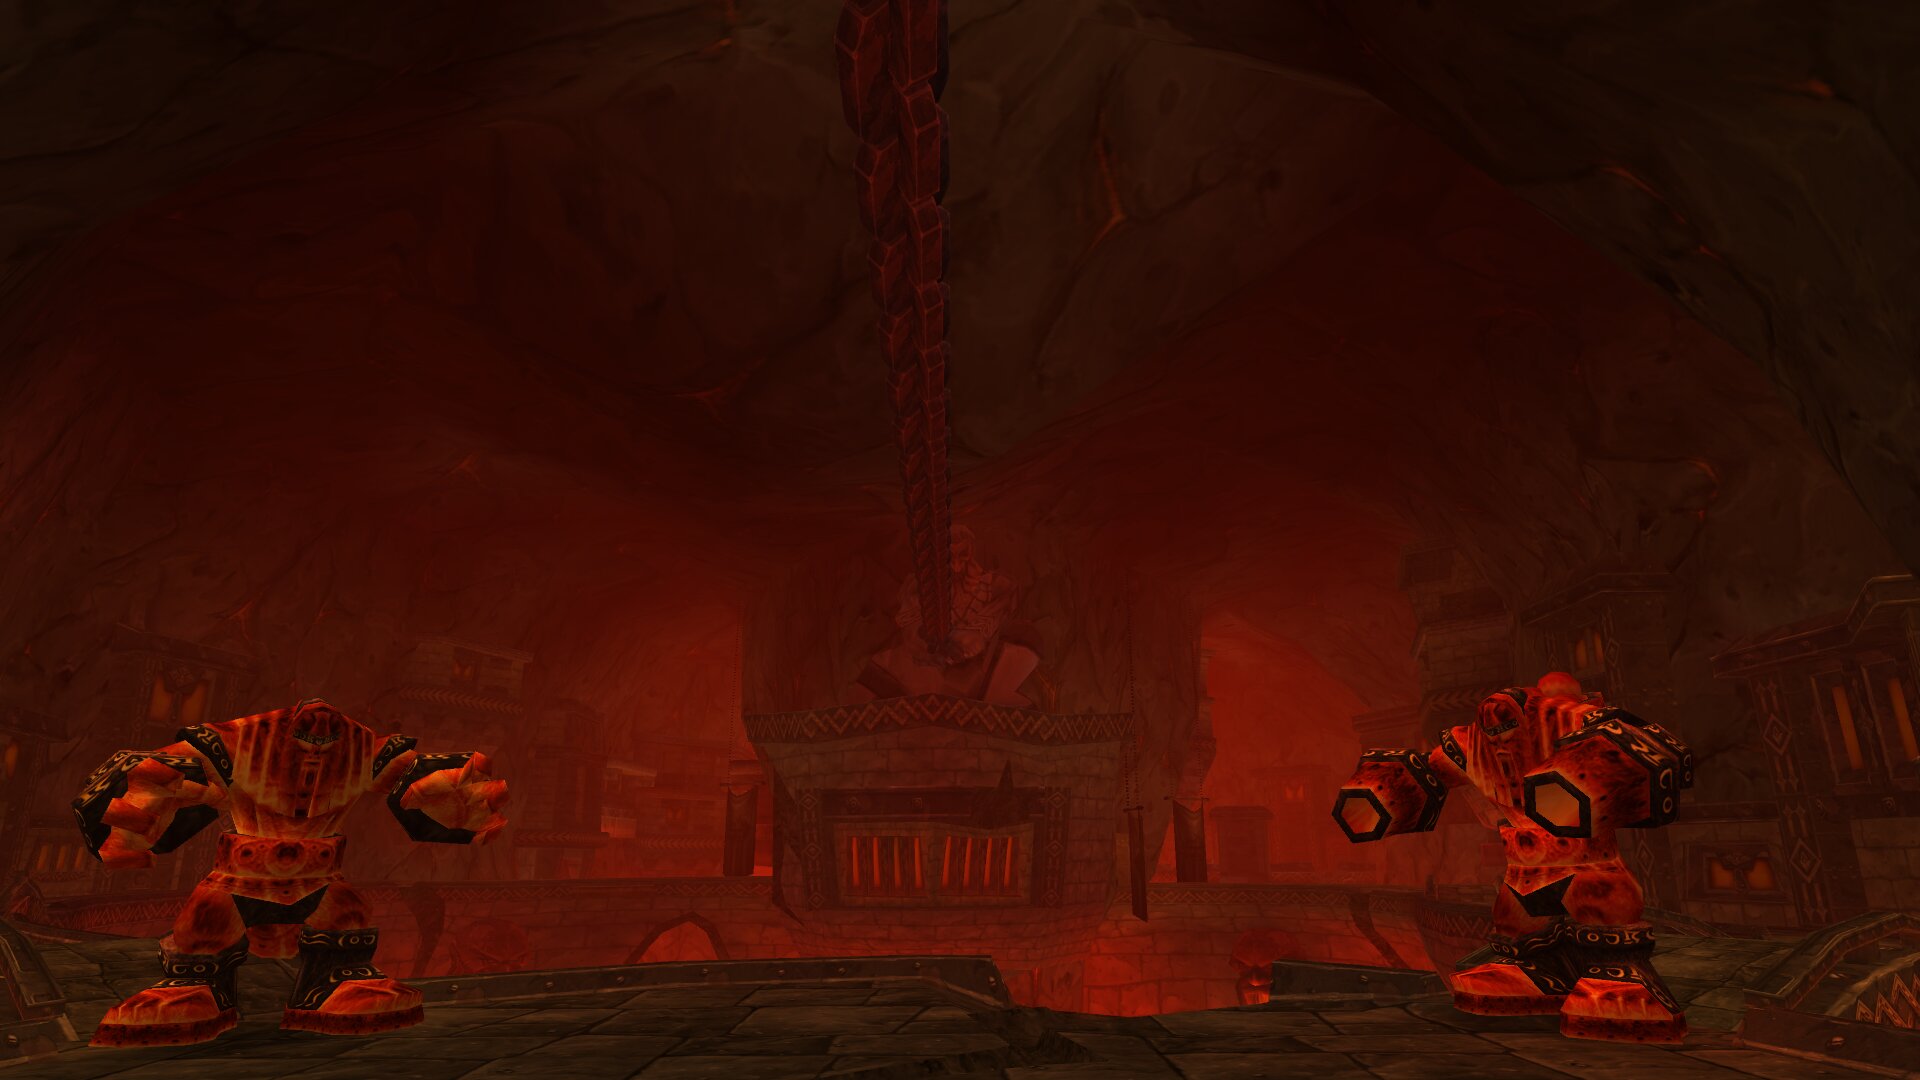 Smoldaris & Basaltharboss▾
HP: Shared health pool
Twin stone giant boss encounter. Both bosses share a single health pool. You must alternate damage between them — attacking only one causes damage to be reduced or ignored on that target.
Alternate your DPS between both targets. If you keep hitting the same one, your damage becomes minimal. Swap targets regularly.
8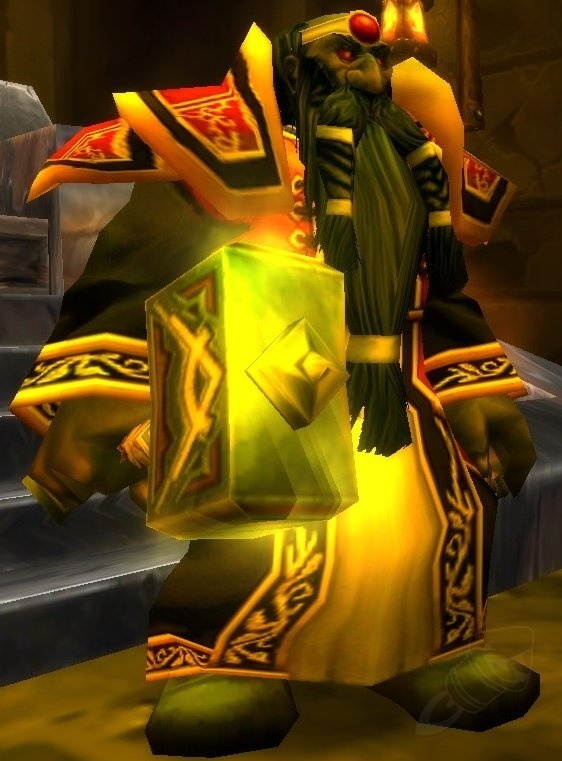 Sorcerer-Thane Thaurissanboss▾
HP: Unknown
Located in the Old Shadowforge area — the ancient hearth of the Dark Iron Dwarves deep within Blackrock Mountain.
IMPORTANT: Spell Detail must be set to MAXIMUM in video settings or the purple circles will not render on the ground. Tell your raiders before the pull.
Boss Abilities
Rune of CombustionDebuff placed on a random player. When you have Combustion, you MUST step INTO the purple circle on the ground. Failing the mechanic damages the raid.
Rune of DetonationDebuff placed on a random player. When you have Detonation, you MUST move AWAY from the purple circle on the ground. Failing the mechanic damages the raid.
Arcane BarrageKnockback attack on players. Was reduced in post-launch hotfix but still disruptive to positioning.
Arcane MissilesChanneled arcane damage. Can be unpredictable and lead to wipes if targeting a player who is trying to resolve a rune mechanic.
Trash to Lucifrontrash▾
Mob Types
Flamewaker95kFlamewakers use Sunder Armor (stacking), Strike, and Fist of Ragnaros (AoE stun). Interrupt the stun.
Flamewaker Protector115kHigher HP flamewakers — Cleave, Dominate Mind (short mind control)
9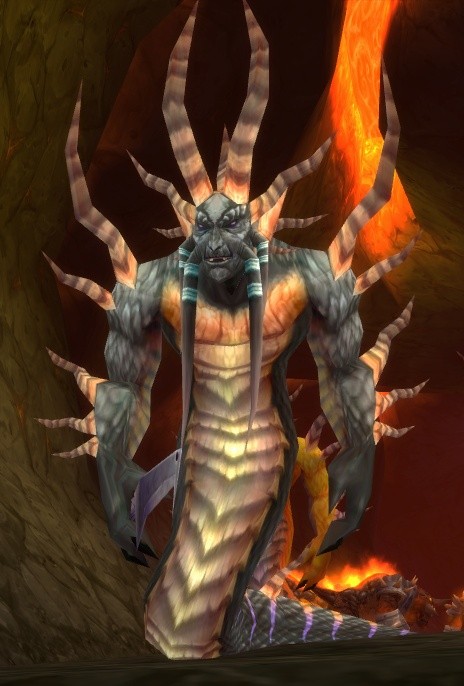 Lucifronboss▾
HP: Unknown
Starts with 2 Flamewaker Protector adds. Health reduced 20% in post-launch hotfix.
Boss Abilities
Impending DoomCurse — deals ~2,000 Shadow damage to all cursed players after 10 seconds. Must be decursed immediately.
Lucifron's CurseCurse — doubles the mana cost of all abilities for 5 minutes. Decurse immediately or healers will go OOM in seconds.
Shadow ShockAoE shadow damage to nearby players. Moderate damage, healers need to keep the raid topped.
Mind Control (Flamewaker Protectors)The Protector adds can mind control random players. Crowd control the mind-controlled player until it breaks.
Flamewaker Protector Abilities
Dominate MindMind controls a random player for a short duration. The controlled player attacks the raid. Other players should use stuns, poly, or other CC to control them until it breaks.
CleaveFrontal cleave hitting multiple targets. Face Protectors away from the raid.
10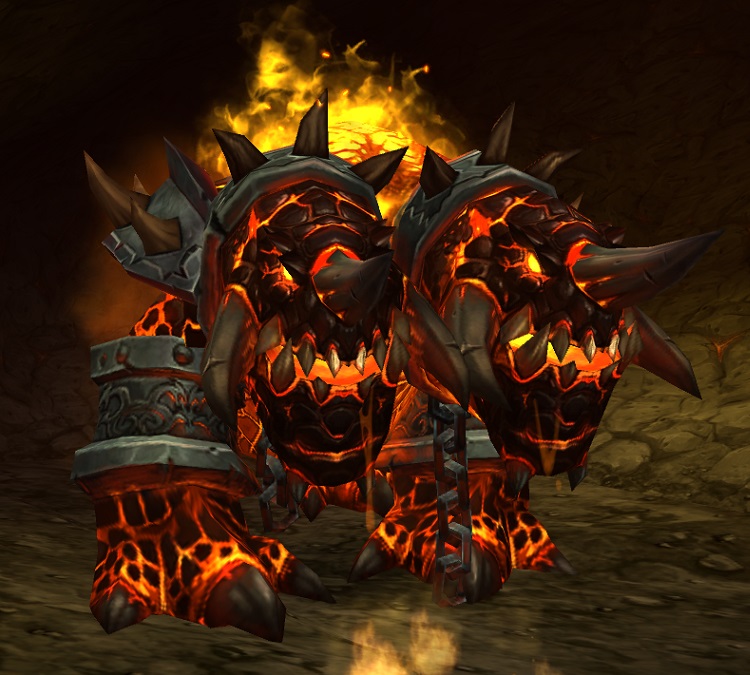 Magmadarboss▾
HP: Unknown
No adds. Magmadar's health was reduced 10% in post-launch hotfix. Lava Bomb AoE duration reduced to 20s/40s (was 30s/60s).
Boss Abilities
FrenzyPeriodically Frenzies, increasing physical damage and attack speed significantly. Must be removed immediately with Tranquilizing Shot (Hunter ability).
PanicAoE Fear affecting all players within 30 yards. Lasts 8 seconds. The main tank MUST be protected from this — Fear Ward, Tremor Totem, or Berserker Rage.
Lava BombDrops a fire pool on the ground at a random player's location. Deals heavy fire damage to anyone standing in it. Persists for 20 seconds (40 seconds for the larger version). Move out immediately.
Lava BreathFrontal cone fire damage. Only affects players in front of Magmadar.
Trash to Majordomo Executustrash▾
Mob Types
Flamewaker Elite135kFire Blast, high melee damage. These are the same mob type as Majordomo's adds.
Flamewaker Healer85kHeals other mobs — interrupt all heals. Same mob type as Majordomo's adds.
11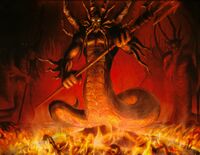 Majordomo Executusboss▾
HP: N/A — does not die. Kill all 8 adds to make him surrender.
4 Flamewaker Elites + 4 Flamewaker Healers. Flamewaker HP reduced 10% in post-launch hotfix. Teleport stun reduced from 3 seconds to 1 second.
Boss Abilities
TeleportMajordomo periodically teleports a random player to his location and stuns them for 1 second (was 3 seconds pre-hotfix). Can be disruptive to healers and casters.
Aegis of RagnarosDamage-absorbing shield. Casts on himself when taking damage. He cannot be killed — the encounter ends when all 8 adds die.
Flamewaker Elite & Healer Abilities
Fire Blast (Elite)Ranged fire damage. Elites hit hard in both melee and at range.
Blast Wave (Elite)AoE fire damage and knockback centered on the Elite. Melee should be ready for this.
Shadow Shock (Healer)AoE shadow damage from the Healers.
Heal (Healer)Heals other adds for significant amounts. MUST be interrupted at all times or the adds never die.
12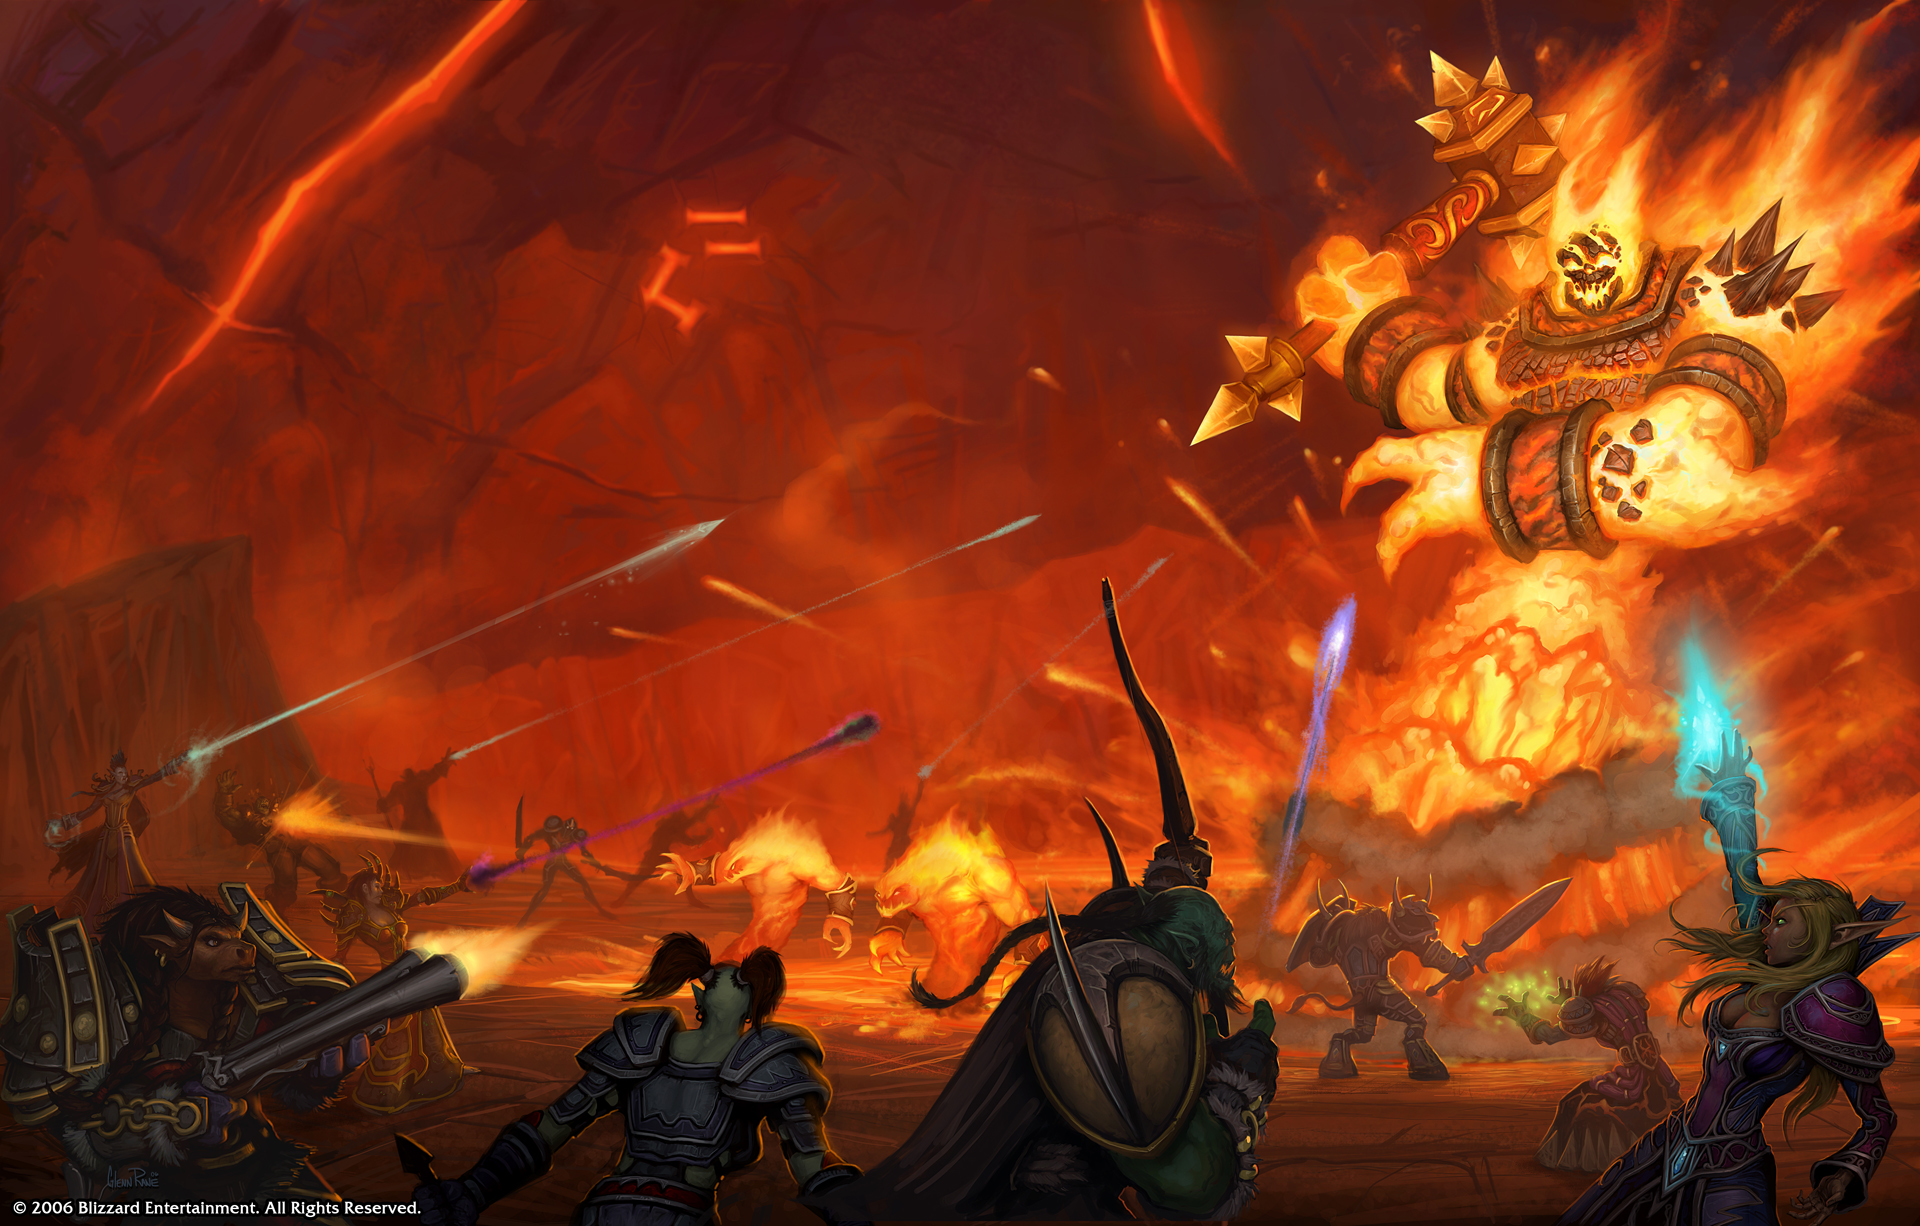 Ragnarosboss▾
HP: Unknown
Every 3 minutes, Ragnaros submerges and summons 8 Sons of Flame. Sons must be killed before he re-emerges. Health reduced 15% in post-launch hotfix. Periodic fire damage massively reduced. Son of Flame mana burn reduced 25%.
Main tank needs 300+ Fire Resistance. Submerge phase is forced — Sons of Flame must be AoE'd down quickly or the fight becomes unrecoverable.
Boss Abilities
Wrath of RagnarosMassive knockback that sends all melee players flying. Tank must be positioned so knocked-back players don't fly into the lava. Resets threat on knocked-back players.
Magma BlastRanged fire attack dealing ~6,000 fire damage. Used when nobody is in melee range — the tank MUST stay in melee at all times to prevent this.
Hand of RagnarosAoE knockback + stun to all nearby players. Can knock players into the lava.
Lava SplashPeriodic fire damage to the entire raid. Was massively reduced in post-launch hotfix.
Submerge (every 3 minutes)Ragnaros submerges into the lava and becomes untargetable. 8 Sons of Flame spawn and attack the raid. You have ~90 seconds to kill all Sons before Ragnaros re-emerges. This phase is forced and cannot be skipped.
Sons of Flame
Mana BurnBurns mana from nearby players. Reduced 25% in post-launch hotfix but still drains casters and healers. Kill Sons quickly.