Blackwing Lair Runbook
Quick-reference encounter strategies for raid leaders
1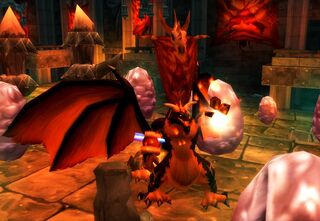 Razorgore the Untamedboss▾
HP: 350,000
Phase 1: Dragonkin (melee, ~20k HP), Blackwing Legionnaires (melee, ~12k HP), and Blackwing Mages (ranged, ~10k HP, cast Fireball and Polymorph) spawn continuously from four corners of the room.
UPDATED IN 1.18.1: Razorgore now has THREE phases. Phase 3 begins after all eggs are destroyed -- Razorgore becomes an active combatant with Fireball Volley, Conflagration, War Stomp, and Warming Flames (self-heal). This is no longer a simple tank-and-spank after eggs.
Boss Abilities
Mind Control OrbA player clicks the Orb of Domination on the platform to mind control Razorgore. While controlled, Razorgore can use Destroy Egg to destroy one of the 30 dragon eggs in the room. If the controller takes damage or is interrupted, control breaks. Only one player can use the Orb at a time.
War StompAoE stun around Razorgore during Phase 1 when not mind controlled, and during Phase 2. Stuns all nearby enemies for 2 seconds.
CleaveFrontal cleave hitting the tank and nearby melee for ~3,000-4,000 physical damage. Phase 2 ability.
Fireball VolleyRazorgore casts Fireball Volley hitting the entire raid for ~2,000-3,000 fire damage. Phase 2 ability.
ConflagrationTargets a random player, stunning them and dealing fire damage over time (~1,000 fire damage every 2 sec for 10 sec). Also damages nearby players. Phase 2 ability. The target cannot move or act while Conflagrated.
Warming Flames (NEW 1.18.1)Self-cast healing/buff ability. Razorgore heals himself, adding urgency to the egg destruction phase and increasing the DPS check in Phase 3.
Phase 1 Add Abilities
Dragonkin MeleeDragonkin are the most dangerous adds — high melee damage (~1,500 per hit) and a Cleave. Must be kited or tanked by dedicated tanks. Hunters are ideal for kiting.
Legionnaire MeleeBlackwing Legionnaires hit moderately hard (~800-1,000). Can be AoE tanked and crowd-controlled.
Mage Fireball / PolymorphBlackwing Mages cast Fireball (~1,500 fire damage) and Polymorph on random raid members. Interrupt Polymorph as a priority. Kill Mages quickly as they are the squishiest adds.
Death Talon Packstrash▾
Mob Types
Death Talon Captain~120kMark of Detonation (AoE explosion if not dispelled), Aura of Flames (fire thorns that burns melee attackers and radiates to nearby Death Talon mobs). Highest HP in the pack — kill last or second-to-last.
Death Talon Seether~80kEnrages, doubling attack speed. Applies a fire vulnerability debuff on the tank. Needs a fire-resistant tank.
Death Talon Flamescale~55kModerate fire melee damage. Random Intercept — charges a raid member for ~300 damage. Off-tanks must be ready.
Death Talon Wyrmkin~60kRanged fire caster — shoots a fireball at everyone in line of sight simultaneously. Sleep or Polymorph these during the pull.
Each pack has 6 dragonkin with random composition. Death Talon Captains have Mark of Detonation which explodes for massive AoE — dispel immediately. Death Talon Seethers enrage and hit extremely hard.
2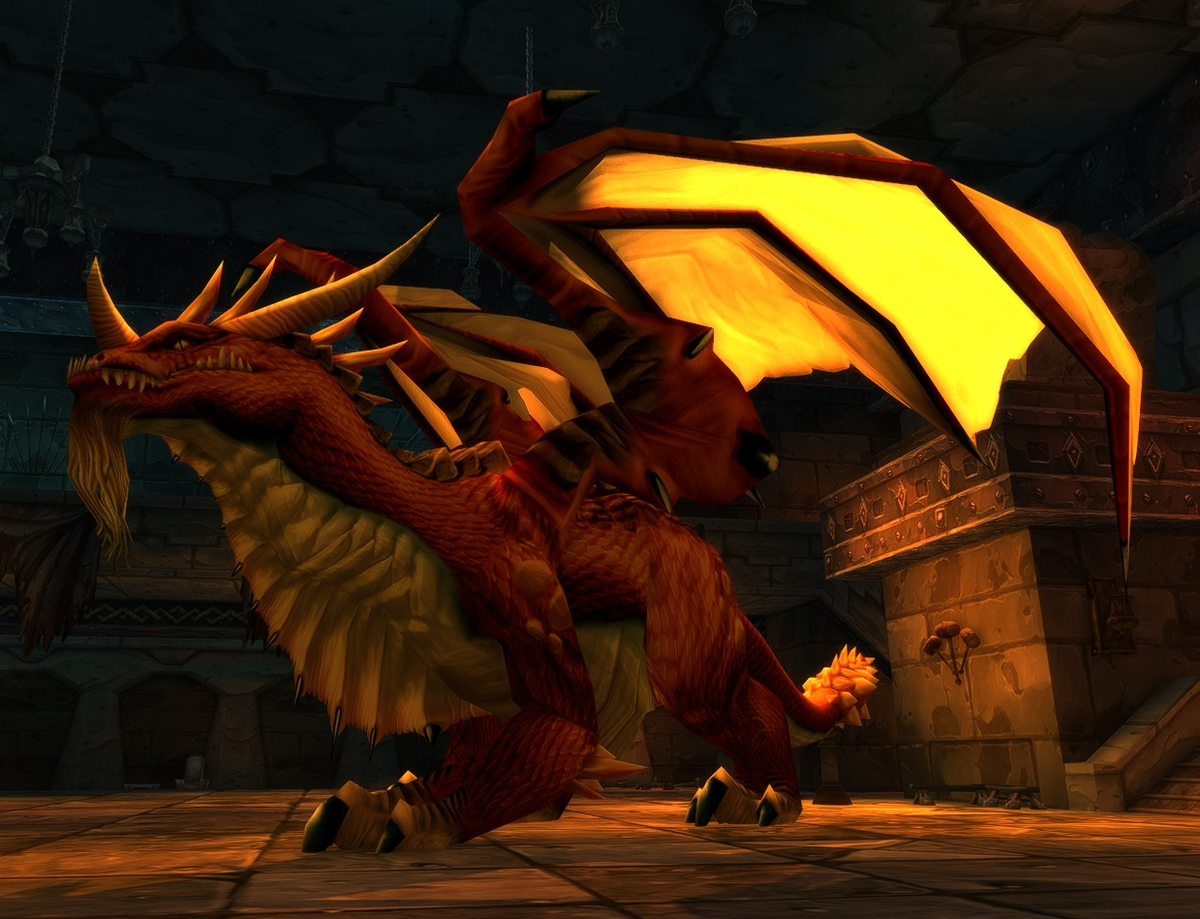 Vaelastrasz the Corruptboss▾
HP: 3,300,000
None
UPDATED IN 1.18.1: Vaelastrasz now casts Blaze of Glory, a raid-wide debuff affecting all players simultaneously. Burning Adrenaline still exists. HP was increased in the March 25 hotfix. This fight is significantly harder.
Boss Abilities
Essence of the RedBuff applied to all raid members at the start of the fight. Grants 500 mana per second (casters), 10 energy per second (rogues), and 20 rage per second (warriors) for 3 minutes. Enables unlimited resource usage — DPS should go all out.
Burning AdrenalineApplied every 15-20 seconds. On a tank: increases damage dealt, increases size, reduces cast time, but kills the target after 20 seconds. On DPS/healers: same effect, target explodes on death dealing ~4,000 fire damage to nearby players.
Fire NovaAoE fire damage to all players in melee range, dealing ~600-1,000 fire damage. Used frequently.
Flame BreathFrontal cone fire attack dealing ~3,000-4,500 fire damage. Only hits players in front of Vaelastrasz. Tank-only concern — melee must stay behind.
Tail SweepKnocks back and deals ~1,500 damage to players behind the boss who stand too far back. Melee should stand at the boss's hind legs, not directly behind the tail.
Blaze of Glory (NEW 1.18.1)Raid-wide affliction cast by Vaelastrasz on the entire raid simultaneously. All 30+ members are affected. Occurs alongside Burning Adrenaline (which still exists). Appears to be an additional damage/healing check layered on top of the existing Burning Adrenaline rotation.
The Suppression Roomtrash▾
Mob Types
Suppression DeviceN/ATrap on the floor — 20yd aura: -80% movement speed, +400% attack time, +80% cast time. Rogues Disarm Trap to disable temporarily. Multiple rogues cycling are needed.
Corrupted Whelp~3k (non-elite)Blue, Bronze, Green, and Red variants with matching resistances. Respawn every ~30 seconds. Must be AoE'd continuously — they pile up fast.
Death Talon Hatcher~90kCannot be CC'd. Growing Flames — proximity AoE fire that escalates from ~50 to 1,000+ damage per tick the longer you stand near it. Tank at least 15 yards from the raid. 20-minute respawn.
Blackwing Taskmaster~50kPatrols in groups of 3. Can heal themselves and each other. Can be Sheeped — CC 2, burn 1, then clean up.
The most notorious trash gauntlet in all of Classic WoW. Suppression Devices on the floor reduce movement speed by 80% and increase cast time by 80%. Rogues must Disarm Trap to clear a path. Whelps respawn every 30 seconds. Blackwing Spellbinders are immune to ALL magic damage. POST-1.18.1: After defeating Broodlord Lashlayer, a SHORTCUT becomes available to bypass the Suppression Room on future runs/re-entries.
3 Broodlord Lashlayerboss▾
HP: 1,000,000
None
UPDATED IN 1.18.1: Broodlord now applies Serrated Wound, a brutal 540/sec bleed DoT lasting 10 seconds. Tank healing is significantly harder. After killing Broodlord, a SHORTCUT through the Suppression Room becomes available for subsequent runs.
Boss Abilities
Blast WaveAoE fire damage and knockback to all players within 15 yards of the boss, dealing ~1,100-1,500 fire damage. Knocks players back a significant distance.
Mortal StrikeHits the current tank for ~4,000-6,000 physical damage and applies a 50% healing reduction debuff for 5 seconds. Healers must compensate with larger heals.
Knock AwayKnocks the current tank back and reduces their threat by 50%. The off-tank must be ready to pick up the boss if the main tank loses aggro.
Serrated Wound (NEW 1.18.1)Physical bleed DoT applied to the current tank. Initial hit of 155-458 physical damage, then ticks for 540 physical damage per second for approximately 10 seconds. Requires heavy tank healing and potential tank swaps to manage the bleed.
Lab Packs (Crimson Laboratories)trash▾
Mob Types
Blackwing Warlock~100kPRIORITY KILL. Rain of Fire (AoE 925-1075 fire/tick). Demon Portal summons Enraged Felguards. Shadow Bolt (~1700). Cannot be Sheeped.
Blackwing Spellbinder~28kImmune to ALL magic damage — must be killed by melee only. Greater Polymorph (turns players into critters). Flamestrike (1600-1900 fire + DoT). Interrupt Polymorph as priority.
Death Talon Overseer~90kResistant to 4 of 5 magic schools but 100% vulnerable to one (Fire, Frost, Arcane, Shadow, or Nature — changes per mob). Test with low-rank spells. Fire Blast, Cleave.
Blackwing Technician~16kThrows AoE grenades/bombs dealing moderate fire damage. Multiple Technicians bombing simultaneously overwhelm healers. Kite with Hunters or AoE down fast.
Blackwing Warlocks open Demon Portals that summon Enraged Felguards — kill the portal or the Warlock immediately. Spellbinders are immune to ALL magic damage. Death Talon Overseers are vulnerable to only ONE magic school each — test with low-rank spells to find it.
4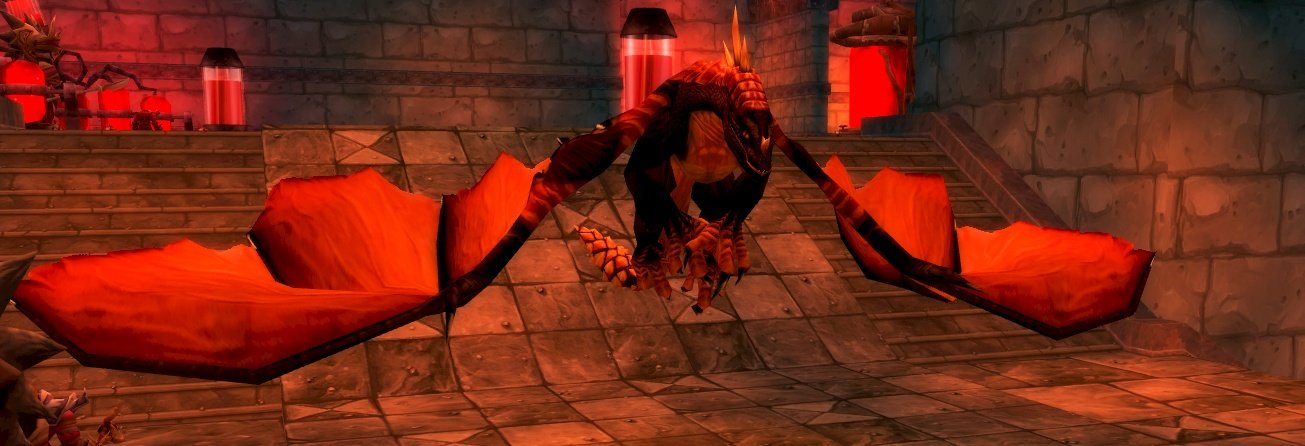 Firemawboss▾
HP: 1,400,000
None
UPDATED IN 1.18.1: After each Shadow Flame cast, Shadowflame Jets spawn on the ground 4 seconds later. These MUST be soaked within 8 seconds or they explode for raid-wide damage. Assign dedicated soakers.
Boss Abilities
Flame BuffetApplied every 3 seconds to every player in Firemaw's line of sight. Stacks indefinitely. Each stack deals increasing fire damage and reduces attack speed. At high stacks (10+), the damage becomes unhealable. Players must break line of sight to drop stacks.
Shadow FlameMassive frontal cone dealing ~4,000-6,000 shadow/fire damage. Instant kill for anyone without significant Shadow Resistance or high HP. Only the tank should ever be in front of Firemaw.
Wing BuffetFrontal cone knockback that also reduces the target's threat by 50%. Forces tank swaps or requires the tank to be positioned against a wall.
Shadowflame Jets (NEW 1.18.1)Floor zones that spawn 4 seconds after each Shadow Flame cast. These create ground-targeted areas that MUST BE SOAKED by players. If a jet goes unsoaked for 8 seconds, it triggers a Shadowflame Explosion dealing heavy raid-wide damage. Multiple unsoaked jets = multiple explosions. Assign 2-3 players to soak duty.
Drake Wing Trashtrash▾
Mob Types
Death Talon Wyrmguard~55kPacks of 3. Each has one magic vulnerability (100% bonus from one school, 75% resist to others) AND one Brood Power: Green (sleeps tank), Red (heavy fire damage), Black (burst fire hits 800-1200), Blue (slows tank), Bronze (disorients tank, preventing aggro + cleaves nearby).
Blackwing Warlock~100kSame as Lab Packs — Rain of Fire, Demon Portal, Shadow Bolt. Kill first.
Blackwing Spellbinder~28kImmune to magic. Greater Polymorph, Flamestrike. Melee only.
Blackwing Technician~16kAoE bombs. Kite or AoE down.
Wyrmguard packs are considered HARDER than the drake bosses. Each Wyrmguard has a unique magic vulnerability AND a unique Brood Power. You must identify both before pulling. Lab packs also continue in this area.
5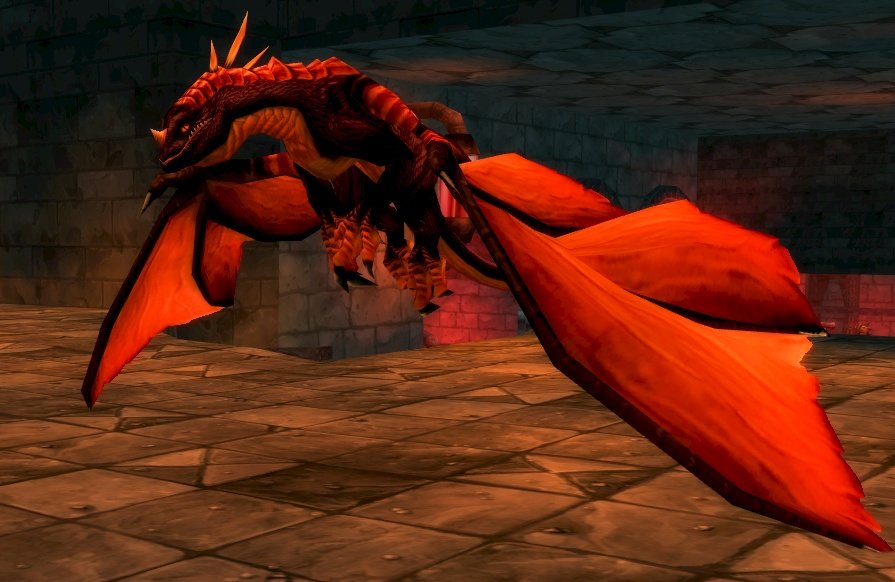 Ebonrocboss▾
HP: 1,400,000
None
UPDATED IN 1.18.1: Shadowflame Sparks spawn at fight start. Healers MUST outrange them -- position healers at max range.
Boss Abilities
Shadow of EbonrocDebuff placed on the current tank. While active, any melee damage Ebonroc deals to the debuffed tank heals Ebonroc for the same amount. Lasts 8 seconds. Forces an immediate tank swap.
Shadow FlameMassive frontal cone dealing ~4,000-6,000 shadow/fire damage. Only the tank should be in front.
Wing BuffetFrontal knockback that reduces the target's threat by 50%. Same as Firemaw.
ThrashEbonroc gains 2 extra attacks on her next swing. Can deal burst damage of 6,000-9,000 in a single swing timer if all three hits land.
Shadowflame Sparks (NEW 1.18.1)Persistent adds/hazards that spawn at the start of the fight. Healers must stay at maximum range to outrange the Sparks until they despawn. Melee and tanks deal with Sparks near the boss.
6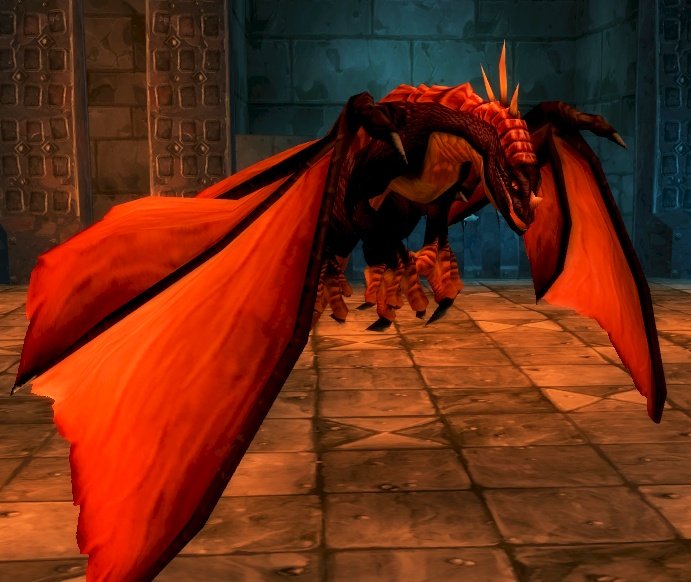 Flamegorboss▾
HP: 1,400,000
None
UPDATED IN 1.18.1: Flamegor now Mind Controls raid members with Overbearing Rage. The MC CANNOT be CC'd -- you must DPS the player to 25% HP to break it. Do NOT kill them. This completely changes the fight.
Boss Abilities
Fire NovaRaid-wide AoE fire damage dealing ~1,000-2,000 fire damage to all players. Used frequently throughout the fight.
Shadow FlameMassive frontal cone dealing ~4,000-6,000 shadow/fire damage. Only the tank should be in front.
FrenzyFlamegor enters a Frenzy, increasing attack speed by 225%. Must be removed immediately with Hunter Tranquilizing Shot or the tank will be killed in seconds.
Wing BuffetFrontal knockback that reduces the target's threat by 50%. Same as the other drakes.
Overbearing Rage - Mind Control (NEW 1.18.1)Afflicts a random raid member with Mind Control. The MC player CANNOT be CC'd (immune to Polymorph, Fear, etc.). The only way to break the effect is to bring the afflicted player's health down to 25%. Affected player is marked with Diamond raid icon. DPS must carefully reduce their HP to 25% without killing them, then immediately heal them back up.
Trash to Chromaggustrash▾
Mob Types
Death Talon Wyrmguard55kFinal Wyrmguard pack(s). Same mechanics — identify vulnerability and Brood Power, tank separately.
Death Talon Captain60kMark of Detonation (explodes for massive AoE fire if not dispelled), Mark of Flames (fire DoT).
Blackwing Technician16kAoE bombs. Kill fast.
Final Wyrmguard and lab packs before Chromaggus. Make sure everyone loots Hourglass Sand from the Wyrmguard trash — you need it for the Chromaggus fight.
7 Chromaggusboss▾
HP: 3,200,000
None
UNCHANGED IN 1.18.1: Chromaggus is the ONLY boss explicitly not updated in the 1.18.1 patch. Standard vanilla mechanics apply.
Boss Abilities
Breath Attacks (2 Random Types)Chromaggus has 2 breath attacks randomly chosen each week from: Incinerate (fire damage ~3,500-4,500), Corrosive Acid (armor reduction ~6,000 armor for 15 sec), Frost Burn (attack speed reduction + ~1,500 frost damage), Time Lapse (stuns entire raid for 6 sec + reduces HP by 50%), Ignite Flesh (fire DoT ~750/tick for 60 sec). Breaths are frontal cones cast every 30 seconds, alternating between the two types.
Brood Affliction: RedFire DoT dealing ~500 fire damage every 3 seconds. Healable. Dispelled by: Druid Decursify (if magic), varies by week.
Brood Affliction: GreenNature DoT dealing ~250 nature damage every 5 seconds, stacking healing reduction. Dispelled by Abolish Poison or Cure Poison.
Brood Affliction: BlueDrains mana, reduces movement speed by 70%, and puts target into a frozen state if not dispelled. Dispelled by Mage Decurse or Druid Decurse.
Brood Affliction: BlackIncreases fire damage taken by 100%. Dispelled by Warlock Devour Magic (Felhunter) or Priest Dispel Magic.
Brood Affliction: BronzeRandomly stuns the target for 4 seconds. Cannot be conventionally dispelled — removed by Hourglass Sand item (looted from Chromaggus trash mobs).
Brood Affliction: Mind ControlIf a player accumulates all 5 colors of Brood Affliction simultaneously, they become permanently mind controlled and hostile to the raid. This CANNOT be broken. Dispelling afflictions before all 5 stack is critical.
FrenzyChromaggus Frenzies, increasing attack speed by 135%. Must be removed immediately with Hunter Tranquilizing Shot.
EnrageAt 20% HP, Chromaggus Enrages permanently, increasing damage dealt significantly. Burn phase — use all cooldowns.
Blackwing Alchemists (Ezzel's Laboratory)trash▾
Mob Types
Blackwing Alchemist~60-80k (estimated)Casts Alchemist's Fire -- a spreadable 8-second debuff. Afflicted players must run out of the raid immediately. Interruptible cast. Found in packs in Ezzel's laboratory wing.
NEW IN 1.18.1: These mobs guard the path to Ezzel Darkbrewer in the new BWL extension zone. Alchemist's Fire is a SPREADABLE debuff -- afflicted players must immediately leave the raid or it chains to nearby members.
8Ezzel Darkbrewerboss▾
HP: NaN
None directly, but Blackwing Alchemists (new trash) guard the path to his laboratory in the new BWL extension zone.
Boss Abilities
Acid BombAoE Nature damage zones. Deals ~450 Nature damage per tick to all players in the affected area. Multiple bombs can be active simultaneously, hitting the entire raid. Major healing check -- NR gear or NR totems/auras help.
Charge (at 80% / 55% / 30% HP)Has a short cast time. Ezzel charges a random player (marked with Triangle). When Ezzel charges into a PILLAR, it removes his Chemical Rage buff. This is the core mechanic -- kite him into pillars during charges. Charge frequency increases at 80%, 55%, and 30% HP thresholds.
Chemical Rage / ConcussionGrants Ezzel 80% damage reduction. Effectively permanent unless removed by making Ezzel charge into a pillar. While Chemical Rage is active, the boss takes almost no damage. Concussion stuns nearby players.
Earthquake + Falling DebrisGround AoE that causes environmental Falling Debris damage. Move out of the earthquake zone to avoid the debris. Stay mobile.
Transmute to Gold (WIPE MECHANIC)Cast at low health (~15%). Approximately 7 second cast time. If this cast completes, it WIPES THE RAID. Must be interrupted or the boss must be killed before it finishes. Apply Curse of Tongues below 15% HP to slow the cast.
9 Nefarianboss▾
HP: 2,600,000
Phase 1: Chromatic Drakonids and colored Drakonids spawn from side doors (Red, Blue, Green, Bronze, Black). Chromatic Drakonids are the most dangerous. Phase 3: Bone Constructs rise from dead Drakonid corpses.
UPDATED IN 1.18.1: Nefarian now has Nefarian's Barrier (self-shield) and enhanced shaman class calls (Healing Stream, Windfury Totem, Stoneskin). March 21 hotfix fixed crash spot in his room and missing collision on balcony barriers.
Boss Abilities
Phase 1 — Shadowflame Initial BreathWhen the fight begins, Nefarian (still in the air) breathes Shadowflame across the entire room, dealing ~4,000-5,000 shadow damage. The raid should be positioned along the sides of the room near the Drakonid spawn doors to avoid the center. Equipping an Onyxia Scale Cloak negates Shadow Flame damage.
Phase 1 — Drakonid WavesDrakonids spawn from two doorways on opposite sides of the room. Chromatic Drakonids are the most dangerous — they have all five chromatic abilities. Colored Drakonids each have abilities matching their dragonflight. Waves continue until Nefarian lands.
Phase 2 — Shadow Flame BreathFrontal cone dealing massive shadow/fire damage. Only the tank should be in front. Players wearing Onyxia Scale Cloak are immune.
Phase 2 — Bellowing RoarAoE fear affecting the entire raid. 30-yard range, lasts 3 seconds. Can be resisted with Fear Ward, Tremor Totem, or Berserker Rage.
Phase 2 — Veil of ShadowDebuff reducing healing received by 75%. Applied to the tank. Must be dispelled immediately or the tank will die.
Phase 2 — Tail LashKnockback and ~1,500 damage to players standing behind Nefarian. Melee should stand at his side/flank, not directly behind.
Phase 2 — Class CallsEvery 25-35 seconds, Nefarian targets a specific class and disrupts them. Warriors: forced into Berserker Stance (20% more damage taken). Mages: randomly Polymorph raid members. Priests: forced to heal Nefarian with their next casts. Hunters: equipped ranged weapon breaks instantly. Rogues: teleported to Nefarian and rooted. Warlocks: Infernals summoned near Warlocks. Druids: forced into Cat Form. Paladins: cast Blessing of Protection on Nefarian, making him immune to physical. Shamans: drop corrupted totems that damage the raid.
Phase 3 — Bone ConstructsAt 20% HP, Nefarian raises all dead Drakonids as Bone Constructs. They have moderate HP and hit hard. Must be off-tanked and AoE'd down while the raid burns Nefarian.
Nefarian's Barrier (NEW 1.18.1)Lord Victor Nefarius casts a self-shield making himself immune or highly resistant to damage. Observed being cast twice during the encounter approximately 12 minutes apart. Likely tied to phase transitions. The raid must wait for the barrier to drop or meet specific conditions to break it.
Shaman Class Calls (UPDATED 1.18.1)Nefarian now uses shaman-themed abilities during class calls: Healing Stream (healing totem), Windfury Totem (melee haste buff for himself or adds), and Stoneskin (damage reduction). These add defensive layers during the shaman class call -- destroy totems immediately.