Temple of Ahn'Qiraj Runbook
Quick-reference encounter strategies for raid leaders
AQ40 Entrance Trashtrash▾
Anubisath Sentinels (55k HP, linked pairs), Obsidian Eradicators (42k HP, mana drain), Anubisath Defenders (90k HP, Explode mechanic)
Boss Abilities
Anubisath Sentinel — Random Abilities (2 per Sentinel)Each Sentinel spawns with 2 random abilities from: Mending (heals nearby allies), Mortal Strike (-50% healing on target), Knock Away (knockback + threat reduction), Reflect Shadow, Reflect Fire, Reflect Arcane, Reflect Frost, Thorns (melee damage reflected), Thunder Clap (AoE slow + damage), Shadow Storm (AoE shadow damage to all nearby players).
Sentinel LinkSentinels are linked in pairs. When one dies, the surviving Sentinel absorbs both of its partner's abilities, becoming double-strength with 4 total abilities.
Obsidian Eradicator — Drain ManaDrains mana from nearby players and converts the drained mana into a powerful AoE damage blast. If left alive too long, healers will be completely OOM.
Anubisath Defender — ExplodeAt low HP, the Defender can Explode — killing itself and dealing massive AoE damage to all nearby players. Can easily wipe melee if not anticipated.
Anubisath Defender — MeteorCalls down a Meteor on a player's location, dealing heavy fire damage split among all players in the impact area.
Anubisath Defender — ThunderclapAoE damage and attack speed slow to all nearby players.
1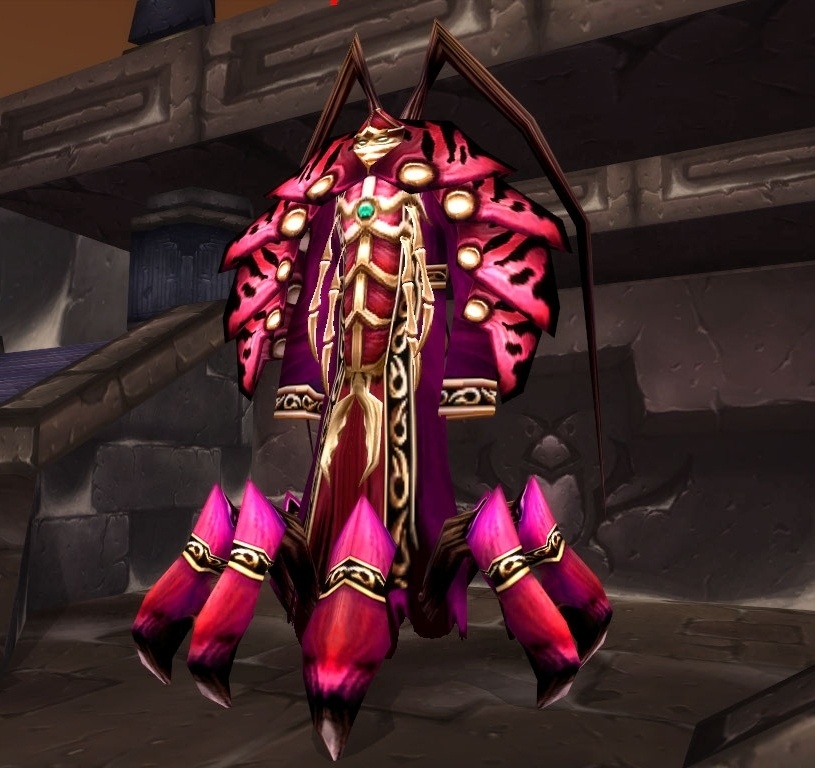 The Prophet Skeramboss▾
HP: 750,000
Creates 2 images of himself at 75%, 50%, and 25% HP — images have the same abilities but less health
Boss Abilities
Arcane ExplosionAoE blast dealing ~2,000 arcane damage to all players within melee range. Triggered frequently when melee are nearby.
True Fulfillment (Mind Control)Mind Controls a random player, granting them +250% damage and +250% healing. The MC'd player will attack allies and must be crowd-controlled immediately — a MC'd healer or DPS with that buff can kill other players in seconds.
Earth ShockInterrupts a spellcast and deals ~2,000 nature damage to the target. Used on healers and casters in range.
Split (75%, 50%, 25%)At 75%, 50%, and 25% HP, Skeram splits into 3 — the real Skeram and 2 images. All three teleport to different platforms in the room. Images have the same abilities but significantly less HP. The real Skeram retains his current HP percentage.
Trash to Bug Triotrash▾
Mob Types
Vekniss Soldier~15,000
Vekniss Wasp~12,000
Vekniss Hive Crawler~18,000
2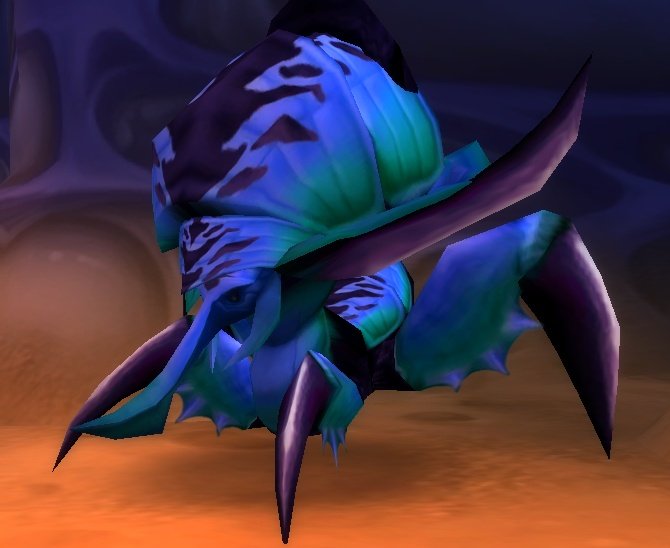 Bug Trioboss▾
HP: NaN
When Lord Kri dies, his corpse spawns a swarm of scarab beetles that must be AoE'd immediately
Boss Abilities
Vem — ChargeCharges a random player, dealing damage and knocking them back.
Vem — Knock DownStuns the current target briefly.
Lord Kri — Toxic VolleyFires a volley of nature damage at all players within 100 yards, applying a stacking poison DoT. The more stacks, the more damage per tick. This is the most dangerous ability of the trio.
Lord Kri — ThrashGains extra melee attacks against the current target.
Lord Kri — CleaveFrontal cone physical damage hitting the tank and anyone near them.
Princess Yauj — FearAoE Fear affecting all nearby players. Tremor Totems and Fear Ward are essential.
Princess Yauj — HealCasts a large heal on the other bosses. Must be interrupted or she will undo all DPS progress.
Princess Yauj — DispelRemoves debuffs from the other bosses, clearing any slows, DoTs, or other harmful effects applied to them.
Shared — Heal to Full on DeathWhen any one of the trio dies, the remaining two heal to full HP and gain increased power.
Trash to Battleguard Sarturatrash▾
Mob Types
Qiraji Warrior~25,000
Qiraji Swarmguard~30,000
3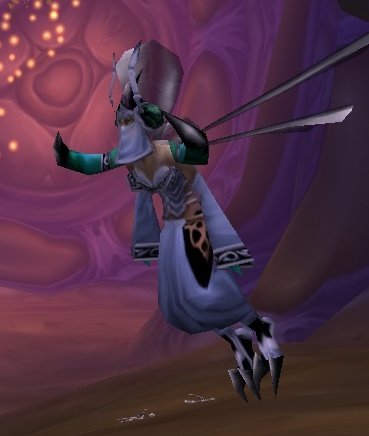 Battleguard Sarturaboss▾
HP: 800,000
3 Sartura's Royal Guard — immune to stun and slow effects
Boss Abilities
WhirlwindSartura spins and charges through the raid randomly for several seconds, dealing ~4,000 physical damage per hit to anyone she passes through. Cannot be controlled during Whirlwind.
EnrageBelow 20% HP, Sartura enrages — increased attack speed and damage. Burns the raid down quickly if not killed fast.
Sundering CleaveFrontal cone attack that reduces armor on the tank.
Royal Guard Abilities
WhirlwindSmaller version of Sartura's Whirlwind — guards spin and deal damage to nearby players, though less than the boss.
KnockbackKnocks back the current target, potentially causing positioning issues.
4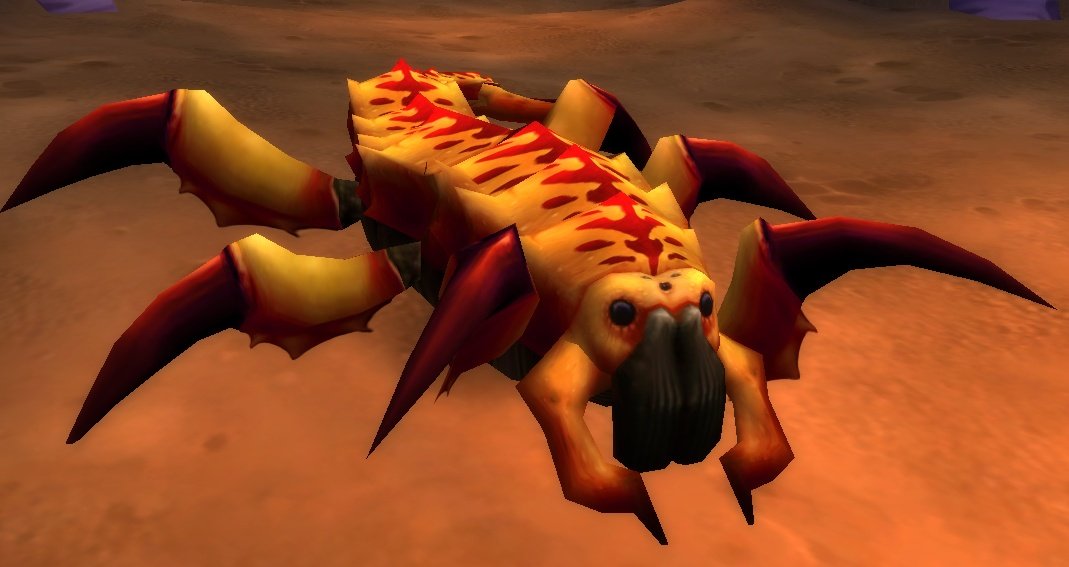 Fankriss the Unyieldingboss▾
HP: 1,000,000
Spawns Hatchlings periodically from bug holes in the walls of the room
Boss Abilities
Mortal WoundStacking debuff on the tank reducing healing received by 10% per stack. At 4-5 stacks, healing on the tank becomes dangerously low and a tank swap is required.
EntangleTeleports a random player to a side bug tunnel, roots them in place, and summons worms to attack them. The player will die if not rescued by DPS quickly.
Trash to Viscidustrash▾
Mob Types
Vekniss Stinger~20,000
Vekniss Hive Crawler~18,000
5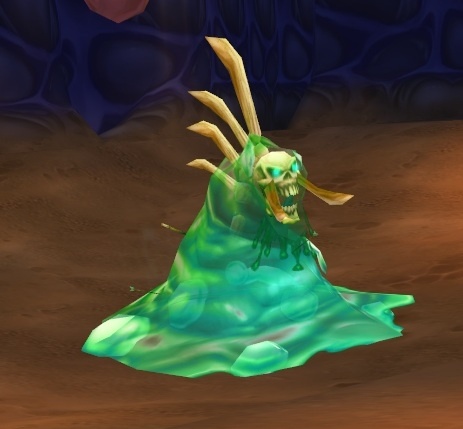 Viscidusboss▾
HP: 1,000,000
When shattered, splits into dozens of small blobs that slowly crawl back together. Any blobs that reach the center reform into Viscidus with proportional HP.
Requires massive frost damage and coordinated melee hits. Bring frost oils, frost wands, and have all mages spec frost.
Boss Abilities
Poison Bolt VolleyFires a volley of poison bolts at all players in the room, dealing nature damage and applying a poison DoT. Constant raid-wide damage that stresses healers over time.
Toxin CloudDrops a green Toxin Cloud on the ground at a player's location. Standing in the cloud deals heavy nature damage per second. Move out immediately.
Freeze PhaseViscidus must be hit with frost damage approximately 200 times to freeze solid. Progress is shown by his color changing: green → blue → frozen. Frost spells, frost wands, frost oils on melee weapons — everything counts.
Shatter PhaseOnce frozen solid, Viscidus must be hit with approximately 150 melee attacks rapidly to shatter him. All melee, hunters, and even healers should run in and melee. When shattered, he splits into small blobs.
6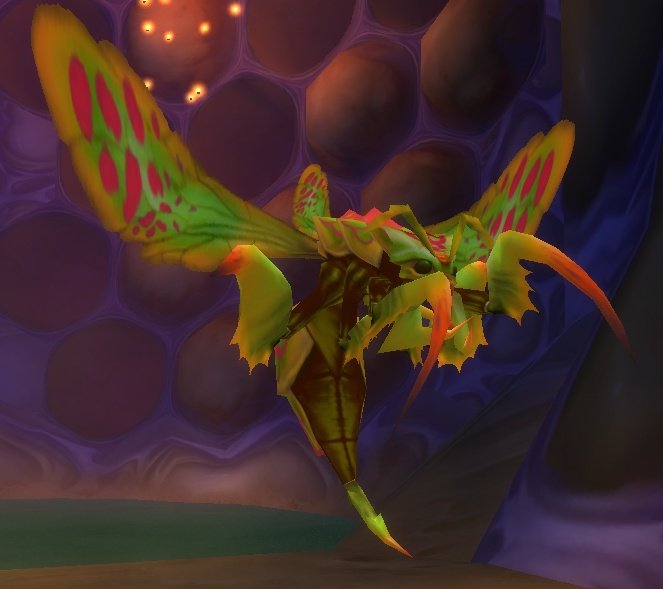 Princess Huhuranboss▾
HP: 1,200,000
None
15 melee-range soakers with Nature Resistance (200+) are needed for the sub-30% Berserk phase
Boss Abilities
FrenzyHuhuran enrages, gaining +50% damage and +60% attack speed. Must be removed immediately with Hunter Tranquilizing Shot or she will kill the tank.
Noxious PoisonAoE nature damage and silence to random players in melee range. During Berserk phase, this is spammed constantly on the nearest 15 players.
Wyvern StingPuts a random player to sleep with a nature damage DoT. Dispellable — remove it quickly to get the player back in the fight.
Berserk (30% HP)At 30% HP, Huhuran permanently enrages and begins spamming Noxious Poison on the 15 nearest players every few seconds. This phase is a DPS race — the soakers absorb the poison while DPS burns her down.
Trash to Twin Emperorstrash▾
Mob Types
Anubisath Sentinel~55,000
Qiraji Mindslayer~65,000
Obsidian Nullifier~50,000
7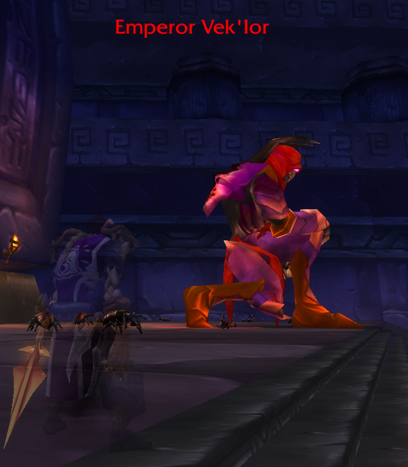 Twin Emperorsboss▾
HP: NaN
Qiraji Scarabs spawn periodically from bug tunnels along the walls
Boss Abilities
Vek'lor — Arcane Burst10-yard AoE arcane damage around Vek'lor. Hits anyone in melee range — since he is immune to physical damage and tanked by a warlock, melee should never be near him.
Vek'lor — Shadow BoltFires a Shadow Bolt at his aggro target for ~3,000 shadow damage. This is his primary attack against the warlock tank.
Vek'lor — BlizzardDrops a Blizzard AoE on a random area, dealing frost damage over time. Move out immediately.
Vek'lor — Immune to Physical DamageAll physical attacks deal zero damage. Must be tanked by a warlock using threat from Shadow Bolt and Searing Pain. Only magical DPS (casters) can damage him.
Vek'nilash — UppercutMassive knockback on the current target. Tank with back against a wall to avoid being punted across the room.
Vek'nilash — Unbalancing StrikeDebuffs the tank to take +100% increased damage for 6 seconds. Healers must react immediately with large heals or the tank will die to the next melee swing.
Vek'nilash — Mutate BugTransforms a nearby Qiraji Scarab into a large elite bug with significantly more HP and damage.
Vek'nilash — Immune to Magical DamageAll magical attacks deal zero damage. Must be tanked by a warrior. Only physical DPS (melee, hunters) can damage him.
Twin TeleportEvery 30-40 seconds, both Emperors teleport and swap positions. Tanks must immediately pick up the correct boss on their new side.
Proximity HealIf the two Emperors are within 60 yards of each other, they rapidly heal. They must be kept on opposite ends of the room at all times.
Trash to Ourotrash▾
Mob Types
Qiraji Champion~70,000
Qiraji Slayer~50,000
Qiraji Mindslayer~65,000
Anubisath Warder~55,000
Obsidian Nullifier~50,000
This is some of the hardest trash in AQ40. However, there is a well-known skip that lets the entire raid bypass every pack. See strategy below.
8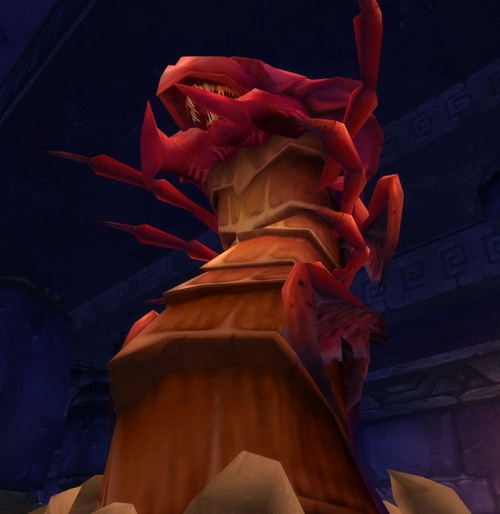 Ouroboss▾
HP: 1,100,000
Scarab swarms spawn when Ouro submerges underground
Boss Abilities
SweepFrontal cone knockback dealing moderate physical damage. Tank should face Ouro away from the raid.
Sand BlastFrontal cone dealing ~4,000 nature damage to all players in front of Ouro. Also wipes threat on the current target, requiring an immediate tank swap.
Ground RuptureWhen Ouro emerges from the ground, deals heavy AoE nature damage to all players in the area where he surfaces. Spread out during submerge to avoid stacking on the emergence point.
SubmergeOuro burrows underground, becoming untargetable. Spawns waves of scarab adds. After a short time, re-emerges at a random location with Ground Rupture.
Enrage (20% HP)Below 20% HP, Ouro stops submerging and permanently enrages, dealing increased melee damage. This is the final DPS burn — he must die before the raid does.
Trash Before C'Thuntrash▾
Mob Types
Eye Tentacle~10,000
Claw Tentacle~15,000
9 C'Thunboss▾
HP: NaN
Eye Tentacles (small, shoot Shadow Bolts), Claw Tentacles (melee, ground slam), Giant Claw Tentacles (large melee, ground slam), Giant Eye Tentacles (large, cast Eye Beam), Flesh Tentacles (inside stomach, must be killed to weaken C'Thun)
Positioning is everything. Stay spread 10+ yards apart at all times in Phase 1 or the Eye Beam chain will one-shot the raid.
Boss Abilities
Phase 1 — Eye Beam (Chain)The Eye of C'Thun fires a beam at a random player. If any other player is within 10 yards, the beam chains to them with increased damage. Each chain doubles the damage. A beam chaining through 3-4 players will one-shot them all. This is the defining mechanic of the fight.
Phase 1 — Dark GlareA massive green beam that rotates slowly around the room. Instantly kills any player it touches. Watch for the direction and move ahead of or behind the beam. It rotates approximately 180 degrees over several seconds.
Phase 2 — Giant TentaclesGiant Claw Tentacles and Giant Eye Tentacles spawn around the room during the body phase. Giant Claws do massive melee damage and Ground Slam. Giant Eyes cast a damaging Eye Beam. Both are priority kill targets.
Phase 2 — Eye TentaclesSmall Eye Tentacles periodically sprout from the ground in groups, firing Shadow Bolts at random players. AoE them down quickly to reduce raid damage.
Phase 2 — Stomach Portal (Swallowed)Randomly throughout Phase 2, a player is swallowed by C'Thun and teleported into his stomach. Inside are 2 Flesh Tentacles — killing them weakens C'Thun, reducing his damage reduction on the body. After a short time, the player is ejected back into the room. Getting swallowed is beneficial if the player can kill the Flesh Tentacles.